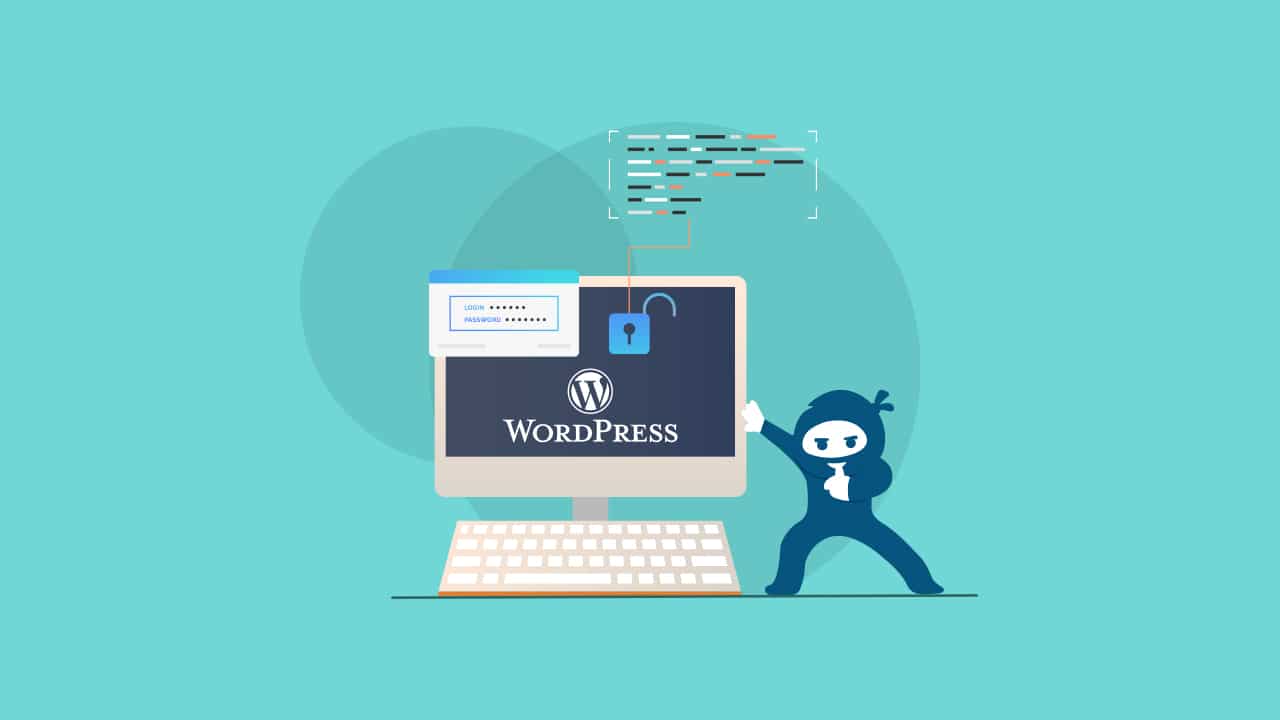
If you’re running a WordPress website, there may come a time when you need help from your developer or support team. However, sharing your personal admin login details has its risks. In fact, granting access can compromise the security of your site.
Fortunately, there are secure methods to grant site access without compromising website integrity. In this guide, we’ll explore safe techniques to provide WordPress access to your developer or support team.
Why Secure Access Matters
Sharing your WordPress admin account is not recommended due to the potential risks involved. By granting someone full access to your admin dashboard, you run the risk of unauthorized changes being made. You even risk complete loss of control over your website.
Sharing your login details through email or other insecure channels puts your WordPress website at significant risk. Email communication is not secure, and there’s always a chance that your password could be intercepted during transmission. Additionally, if you use the same password for multiple accounts, sharing your WordPress login could inadvertently grant access to other platforms as well.
The Solution: Creating a New User Account
The best practice for granting access to your WordPress site is to create a new user account specifically for the developer or support team. This eliminates the need to share your personal login details and provides a controlled environment for them to work within. Let’s explore the step-by-step process of creating a new user account in WordPress.
Step 1: Log In to Your WordPress Dashboard
To begin, log in to your WordPress admin dashboard using your own admin account credentials. Once logged in, you’ll have access to the necessary settings to create a new user account.
Step 2: Navigate to the Users Section
In the WordPress dashboard, locate the “Users” section, usually found in the sidebar menu. Click on “Users” to access the user management settings.

Step 3: Add a New User
Within the Users section, you’ll find an option to add a new user. Click on “Add New” to proceed with creating a new user account.

Step 4: Fill in User Details
In the user creation form, provide the necessary details for the new user. This includes the username, email address, first name, last name, and website URL if applicable. It’s important to choose a strong username and a unique email address for the new user.

Step 5: Set User Role and Access Level
Next, set the user role and access level for the new user. Depending on the level of access required, you can choose from options such as Administrator, Editor, Author, Contributor, or Subscriber. For developers and support teams, it’s usually best to grant them Administrator access to ensure they can perform their tasks efficiently.

Step 6: Send User Invitation
After filling in the user details and setting the appropriate access level, click on the “Add New User” button. WordPress will then send an email invitation to the new user, containing instructions on how to log in and set their own password. This ensures that the user has complete control over their login credentials.

Step 7: Revoking Access
Once the developer or support team has completed their tasks or is no longer needed, it’s important to revoke their access to your WordPress site. To do this, simply navigate to the Users section, locate the user account you created for them, and delete it. This will remove their access privileges and ensure the security of your website.


Focus on your business – We’ll handle your website’s speed, security, uptime, and updates.
A few alternative ways to share WordPress Access to Your Developer/Support
Sharing WordPress access with your developer or support team is a common practice to allow them to work on your website. However, it’s important to do this securely to protect your site’s data and integrity. Here are several ways to share WordPress access with your developer or support:
Use a WordPress “Support Me” Plugin
This plugin offers a secure and convenient way to handle support accounts. It provides the following key features:
- Account Expiration: You can set support accounts to automatically expire after a specific duration, ranging from minutes to days, or even choose the option for accounts to never expire.
- Automatic Deletion: Once a support account expires, it is automatically deleted from the system, eliminating the need for manual account management.
- No Fake Emails or User Registration: With Support Me, you no longer need to create fake email addresses or go through the hassle of user registration. Simply set the expiration and generate an account.
- Account Management: Support accounts can be managed just like any other user account, giving you full control over their access and privileges.
- Expiration Visibility: The plugin adds an “Expires” column on the Users screen, allowing you to easily track when support accounts will expire.
To implement the Support Me plugin and provide secure access to your developer or support personnel, follow these step-by-step instructions:
Step 1: Install the Support Me Plugin
First, navigate to the “Plugins” section in your WordPress admin dashboard. Click on “Add Plugins” and search for “Support Me” using the search box. Once you find the plugin, click on “Install Now” and then activate it.

Step 2: Add a Support Account
After activating the Support Me plugin, you will see a new option in the sidebar menu called “Add Support Account” under the “Users” section. Click on it to proceed.

Step 3: Set Expiration and Generate Account
In the Support Account creation page, you can set the expiration time for the account. Choose the duration that suits your requirements, from a few minutes to several days, or select the option for the account to never expire.
Once you have set the expiration, click on the “Add Support Account” button. You will be redirected to a page displaying the support account details, including the Username and Password URL.

Step 4: Share the Account Details
Share the Username and Password URL with your developer or support personnel. They can use the provided URL to set their own password and gain temporary access to your WordPress dashboard. Once the designated time period is over, the account will automatically expire and be deleted from the system, ensuring the security of your website.

Use a WordPress User Management Plugin:
1. Install and activate a user management plugin like “User Role Editor” or “Members.”
2. Configure the plugin to create custom user roles and permissions if needed.
3. Create a new user account with the appropriate role for your developer or support team.
4. Share the login credentials of this newly created account with them.
5. These plugins give you more granular control over user roles and permissions, ensuring your developer or support personnel only have access to what they need.

Use a Staging Site
1. Create a staging environment that’s a duplicate of your live site.
2. Grant your developer access to the staging site instead of the live site.
3. This allows them to work on changes without affecting your live site.
4. You can easily reset the staging site if needed.
Collaboration Platforms
Use collaboration platforms like GitHub, Bitbucket, or GitLab if your developer needs to work on custom code or plugins.
Share code repositories with your developer, and they can push changes to your site after reviewing and testing them.
Remember to follow best practices for security when sharing access, such as using strong, unique passwords for each user and disabling or deleting user accounts when they are no longer needed. Always maintain an up-to-date backup of your site before granting access to anyone to ensure you can restore it in case of any issues.

Additional Tips for Secure Access
To further enhance the security of your WordPress site during the access granting process, consider implementing the following measures:
1. Regularly update WordPress, themes, and plugins to ensure you have the latest security patches.
2. Use strong and unique passwords for all user accounts, including the new user account created for your developer or support team.
3. Enable two-factor authentication for an added layer of security.
4. Keep backups of your website’s files and database to recover in case of any unforeseen issues.

Build, Customize, and Scale Your WordPress Site with WooNinjas
Ways to share FTP Access to Your Developer/Support
Sharing FTP (File Transfer Protocol) access securely with your developer or support team is essential to protect your website’s integrity and data. Here are several methods/ways to safely share FTP access:
Use SFTP (Secure File Transfer Protocol)
Prefer SFTP over traditional FTP as it encrypts data during transmission, making it more secure. Ensure your hosting provider supports SFTP.
Create a Dedicated FTP Account
Instead of sharing your primary FTP login credentials, create a separate FTP account specifically for the developer or support team.
Set Strong Passwords:
Generate strong, unique passwords for the dedicated FTP account using a reputable password manager.
Limit Access Permissions:
Configure the FTP account with the minimum permissions necessary for the tasks at hand. Restrict access to only the directories and files required.
Use a Secure Communication Channel:
Share the FTP credentials through a secure communication method, such as a password-protected and encrypted email, a secure messaging app, or a password-protected document.
Request Confirmation and Purpose:
Clearly communicate the tasks the developer or support team is expected to perform with the FTP access.
Request confirmation from them before sharing the credentials.
Implement IP Whitelisting:
Some hosting providers allow you to whitelist specific IP addresses that can access your server via FTP. This adds an extra layer of security by limiting access to only trusted IP addresses.

Use Two-Factor Authentication (2FA):
If your hosting provider supports 2FA for FTP/SFTP access, enable it. This adds an additional layer of security by requiring a one-time code from a mobile app or hardware token in addition to the password.

Set an Expiration Date:
If possible, set an expiration date for the FTP account or password. This ensures that access is automatically revoked after a specific period.
Change Passwords After Use:
After the developer or support team has completed their work, change the FTP password immediately.

Monitor Activity:
Regularly check the FTP access logs or activity associated with the FTP account for any suspicious behavior.
Remove Access When No Longer Needed:
Once the developer or support team has finished their tasks, revoke their FTP access immediately. Consider removing the FTP account if it’s no longer required.

Consider Alternatives:
If possible, use alternatives like version control systems (e.g., Git) for code-related tasks. These systems provide better access control and tracking capabilities.
Third-Party File Transfer Services:
Consider using secure third-party file transfer services like Dropbox, Google Drive, or OneDrive to share specific files or folders securely instead of providing FTP access.
Remember that security is paramount when sharing FTP access, and it’s crucial to maintain a balance between convenience and safeguarding your website’s data and infrastructure.
By following these additional security measures, you can maintain a safe and secure WordPress environment while granting access to your developer or support team.

Grant WordPress access
Providing secure WordPress access to your developer or support team is essential for maintaining the integrity and security of your website. By creating a new user account with the appropriate access level, you can grant access without compromising your personal login details. Remember to revoke access once it is no longer needed and implement additional security measures to protect your WordPress site. With these strategies in place, you can confidently collaborate with your developer or support team while keeping your website secure.
Remember, security should always be a top priority when managing your WordPress site. Safely granting access to your developer or support team is just one aspect of maintaining a secure website. Stay vigilant, update your plugins and themes regularly, and follow best practices to ensure the ongoing security of your WordPress site.


