WC Browser Notify (WCBN) is an easy way to let your users be notified of specific WooCommerce or browser actions through an alert pop-up. You can select the specific WooCommerce actions (called triggers) and associate them with pop-up alerts, which you can customize in the WP editor.
Video Tutorial
Watch the tutorial video below for a quick walkthrough of the add-on’s features and setup process.
For detailed instructions, please continue reading the full documentation. If you still have any questions, feel free to submit a support ticket.
Installation
- Install and activate the WooCommerce plugin.
- Install and activate the WooCommerce Browser Notify add-on.
- There will be new entries under the WooCommerce menu: “Browser Notify Triggers”, “Browser Notify Popup”, and “Browser Notify License”.

Browser Notify License
The license key can be configured from the “Browser Notify License” menu. License keys will be sent to your email address when you purchase the add-on.
Insert your license key in the field and then click on Activate.

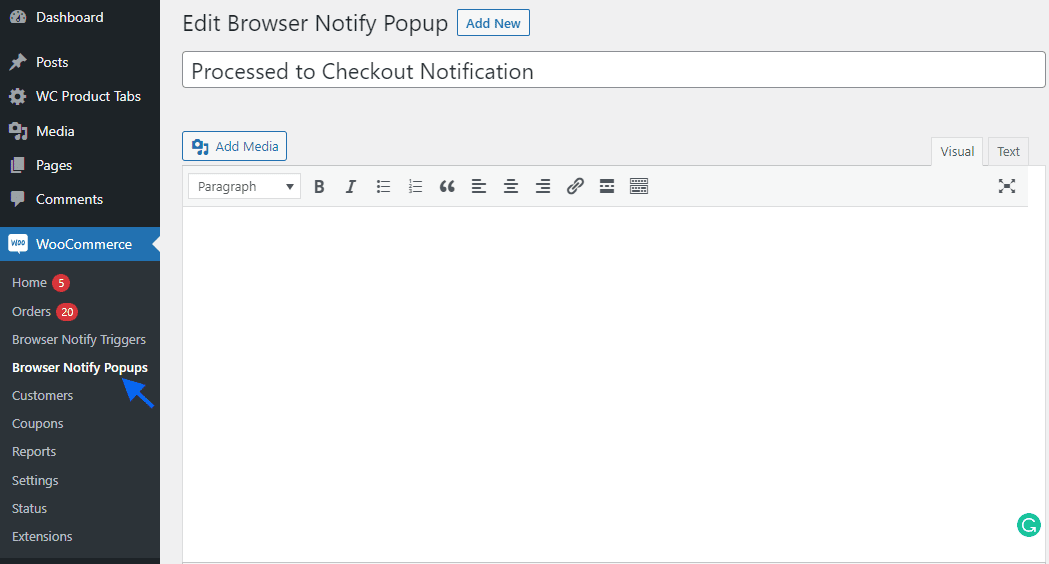
Browser Notify Popups
This menu allows you to add new pop-ups on the front end. To add a new pop-up, please follow these steps:
- Navigate to the WooCommerce > Browser Notify Pop Up > Add New.
- Add title.
- Add pop-up content in the description. You can add shortcodes as well.
- Publish the post.
Browser Notify Triggers
This menu allows you to add new triggers to display the custom pop-up on the front end.
To add a new trigger, please follow these steps:
- Navigate to the WooCommerce > Browser Notify Triggers > Add New.
- Add title.
- Select the desired trigger to display the pop-up from the drop-down. You can select from the following options:
- On page load
The pop-up shows when any page is loaded. - On scrolling through
The pop-up shows when any page is scrolled in the downward direction. - On Add to Cart(Non-AJAX)
The pop-up shows when the product is added from the product page. The pop-up does not show when the product is added from the shop page. - On Proceed to Checkout
The pop-up will show on the checkout page at the time of page loading. - On Place Order
The pop-up shows when an order is successfully placed by a customer. - On Cart Empty Page
The pop-up shows up on the cart page at the time of page loading, when the cart page is already empty. - On Product List Page(if products exist)
The pop-up will show on the shop page at the time of page loading, when the site has at least 1 product published. - On Single Product
The pop-up shows up on an individual product’s page at the time of page loading.
- On page load
- Add a delay in seconds. Leave empty for instant display.
- Select the pop-up you want to display when the selected trigger occurs.
- Publish the post.


FAQ’s
Can I use my existing WordPress theme?
Yes! WooCommerce Browser Notify works out-of-the-box with nearly every WordPress theme.
Changelogs
1.0.3
- Fix: Popup not showing on shop page for Add to Cart (Non-AJAX).
- Fix: Removed “#wcbn-modal-woocommerce_add_to_cart” from URL.
- Fix: Proceed to Checkout popup showing on every page load.
- Fix: Removed “#wcbn-modal-woocommerce_order_items_table” from URL.
- Fix: Removed “#wcbn-modal-woocommerce_cart_is_empty” from URL.
- Fix: Removed “#wcbn-modal-woocommerce_after_shop_loop” from URL.
- Fix: Removed “#wcbn-modal-woocommerce_after_single_product” from URL.
- Fix: Corrected popup trigger behavior on Checkout page.
- Fix: Trigger handling for “Override ‘On page load'” option.
- Fix: Updated code and resolved PHPCS errors for security and performance.
1.0.2
- New: Update UI from license module.
- Fix: PHP warnings.
1.0.0
- Initial Release.
