If you’re running an online store using the WooCommerce plugin, you’re probably familiar with the “My Account” page. This is the page your customers see when they log into their accounts. It also contains information regarding a user’s orders, invoices, payment methods, addresses, and other profile details.
As such, your online store’s My Account page plays a huge role in your customers’ experience. Tailoring the design and layout on your My Account page contributes to improving navigation on your site, facilitating order management, and providing professional attention to your business’s customers.
But, as we know, customizing WooCommerce pages is not an easy task. However, using a page builder like Elementor can help.
In this article, our WooCommerce development experts will teach you how to customize the My Account page using Woocommerce and Elementor.
Psst… Don’t forget to also check out our tutorial on how to customize WooCommerce product pages with Elementor.
How to customize the WooCommerce My Account page with Elementor
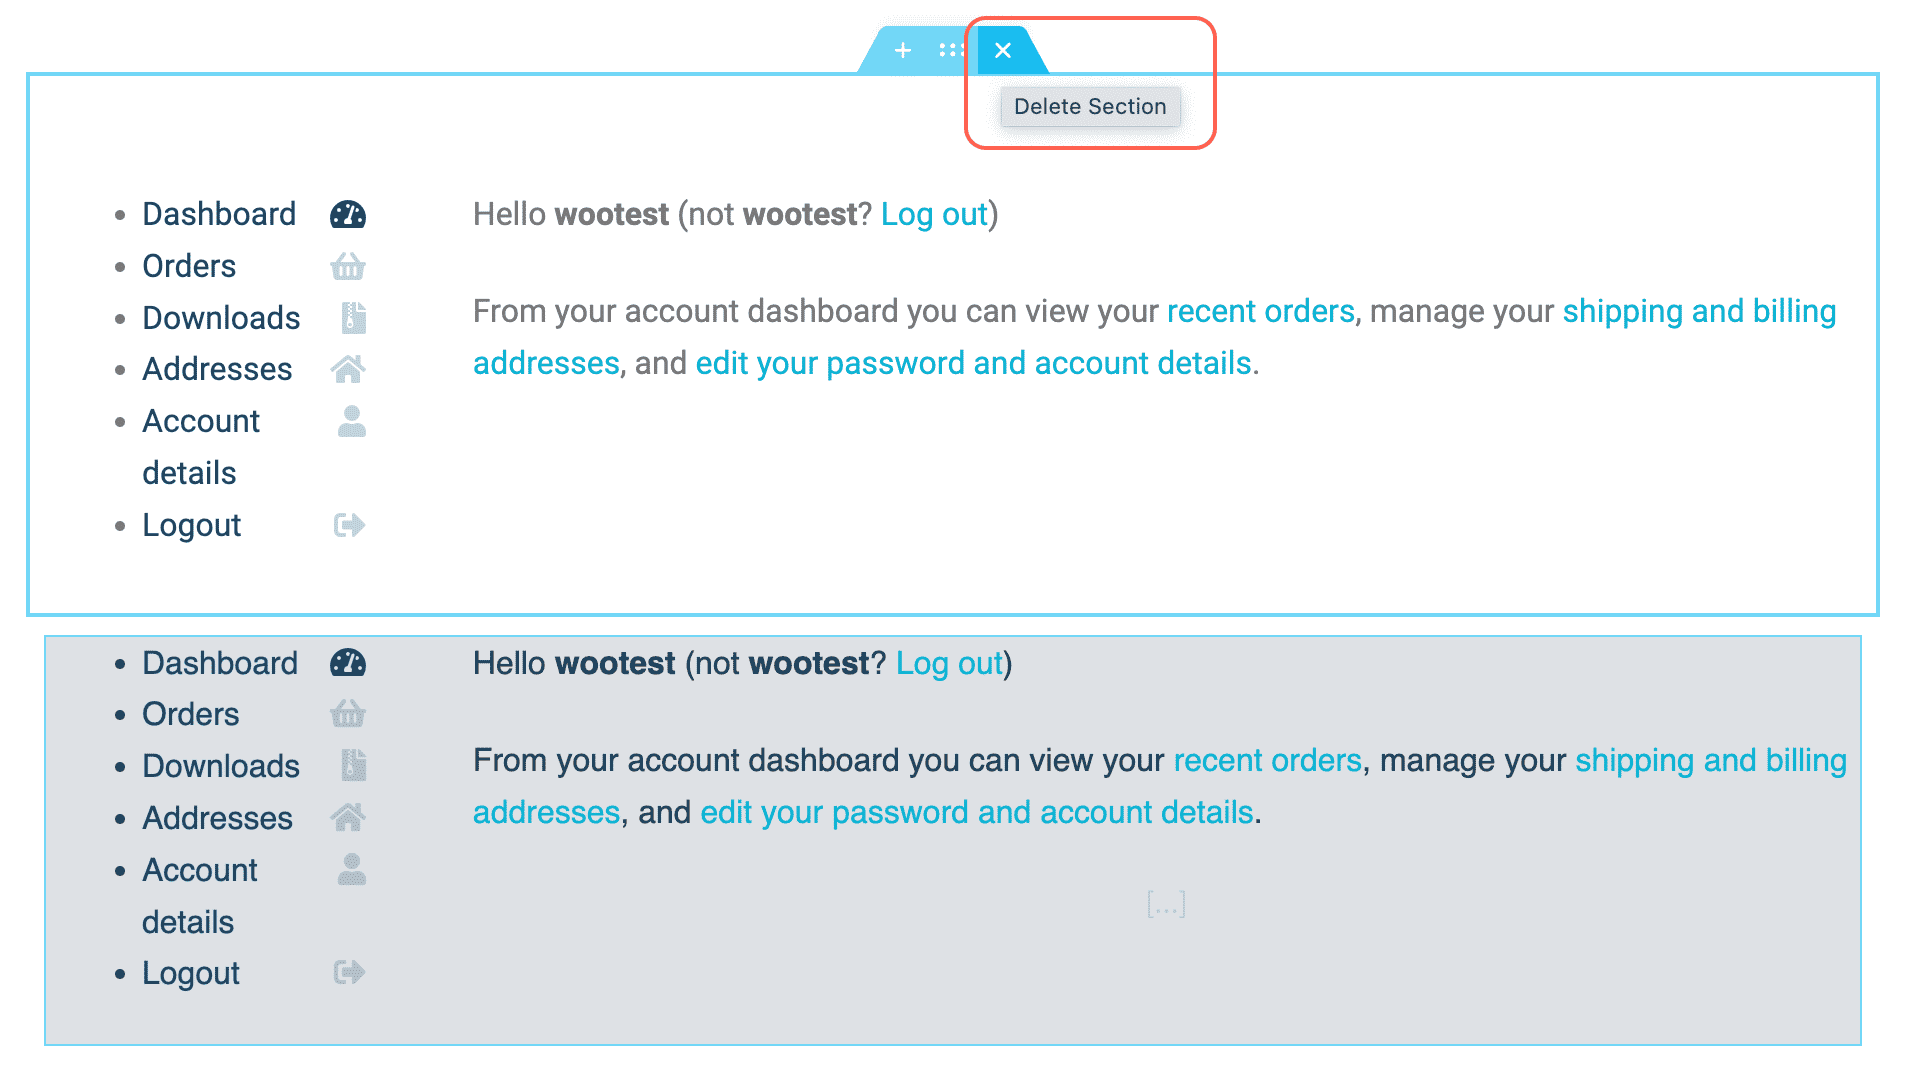
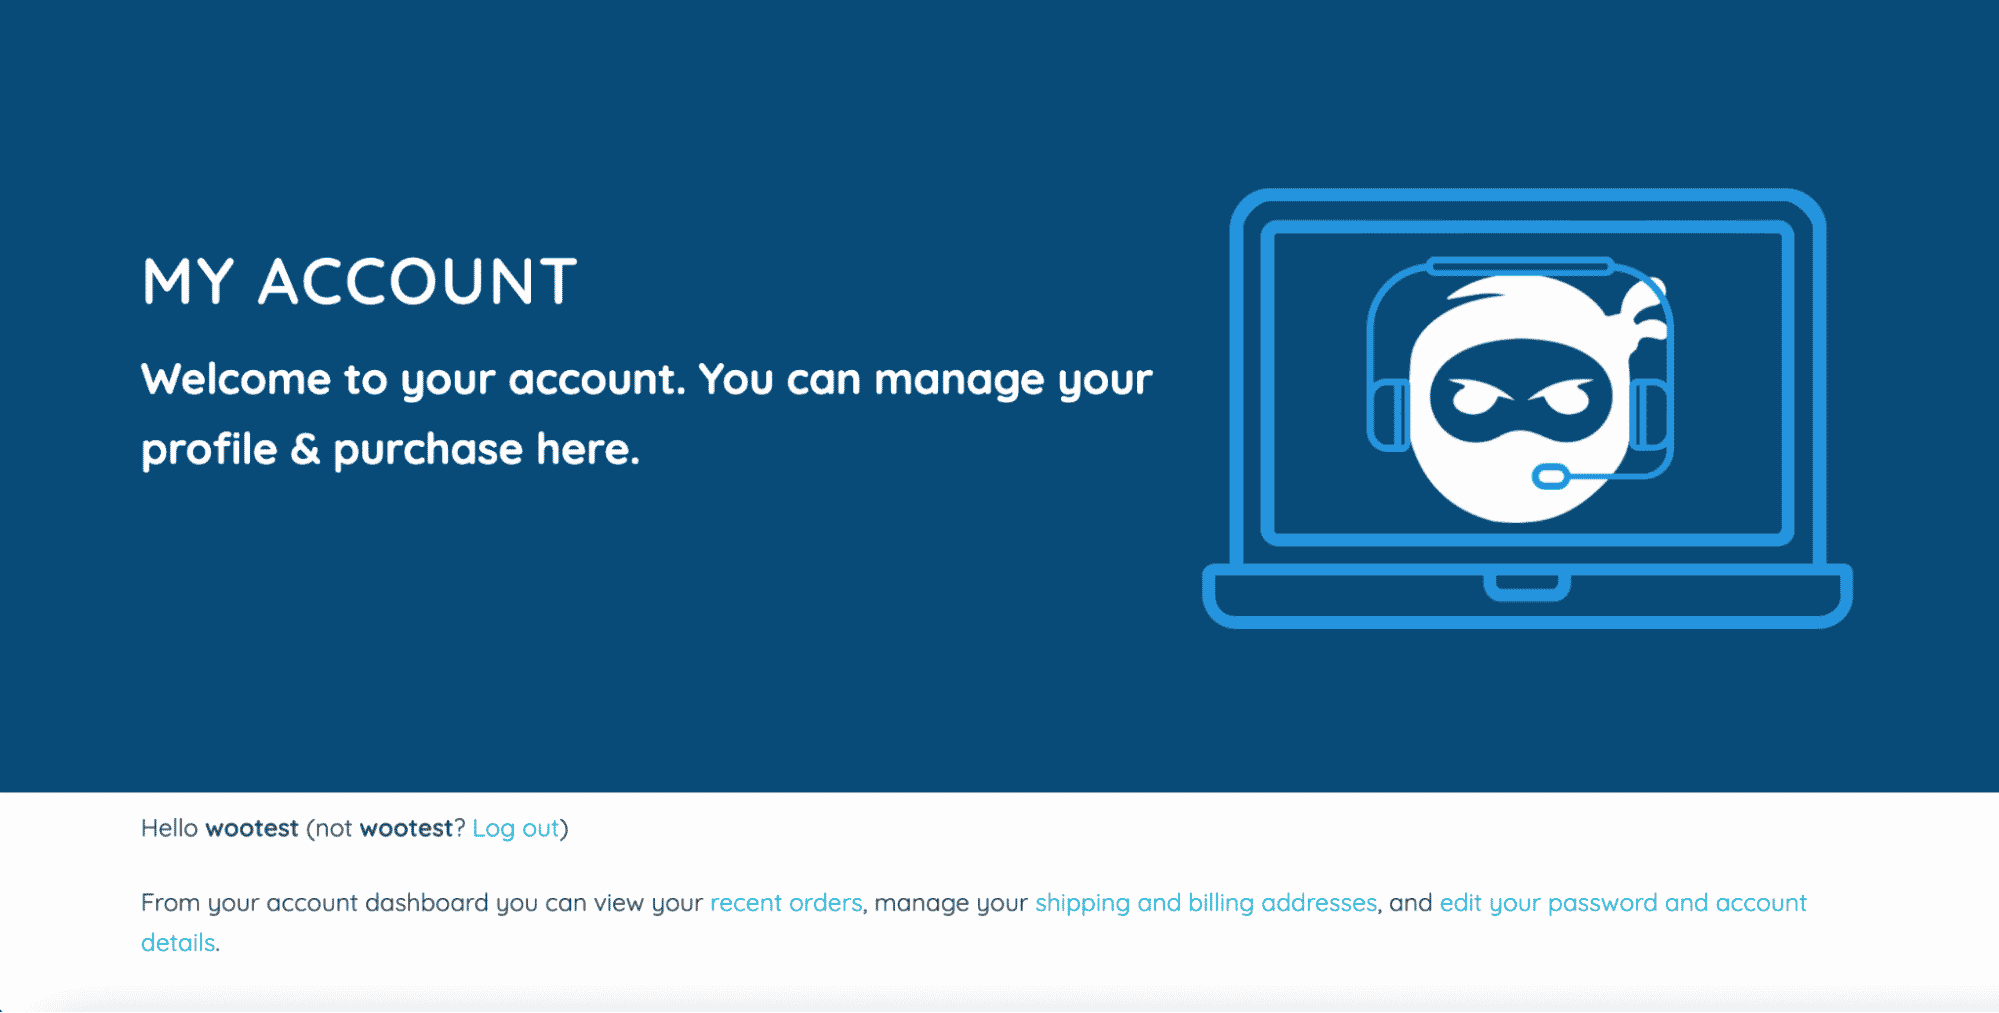
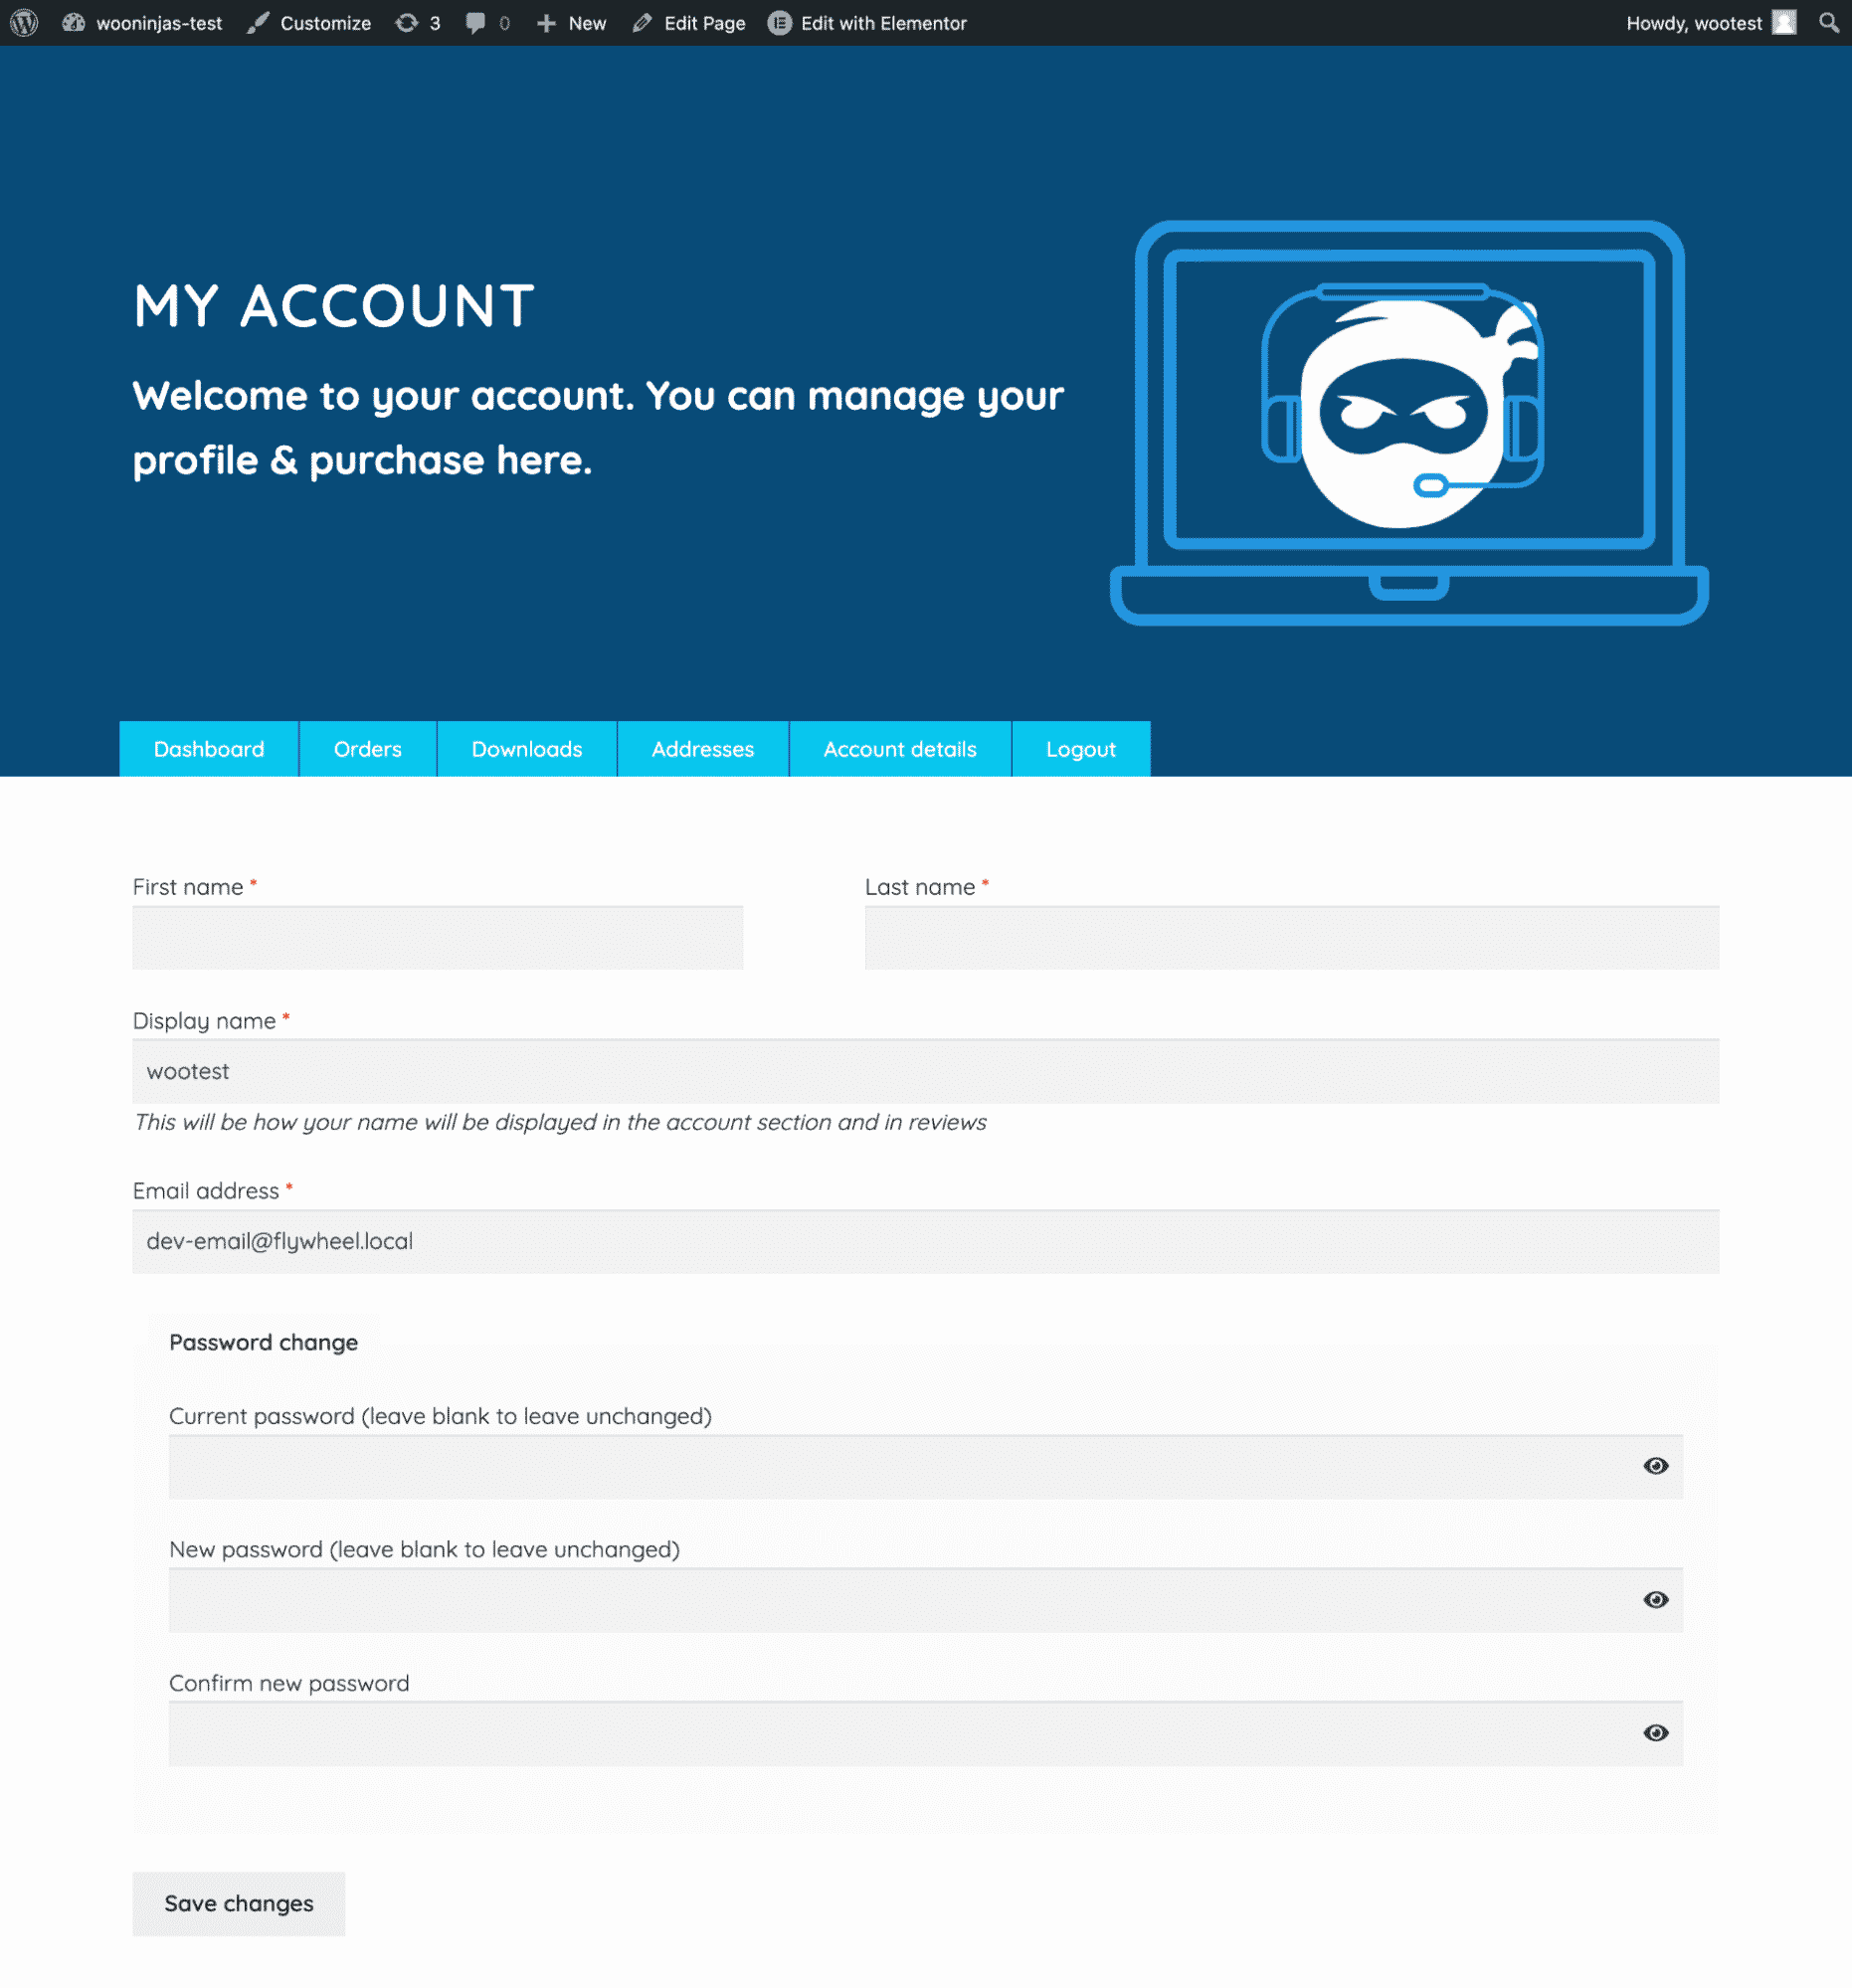
By default, the My Account page is pretty simple. Before we make any changes, let’s take a look at how it looks in its barebones:
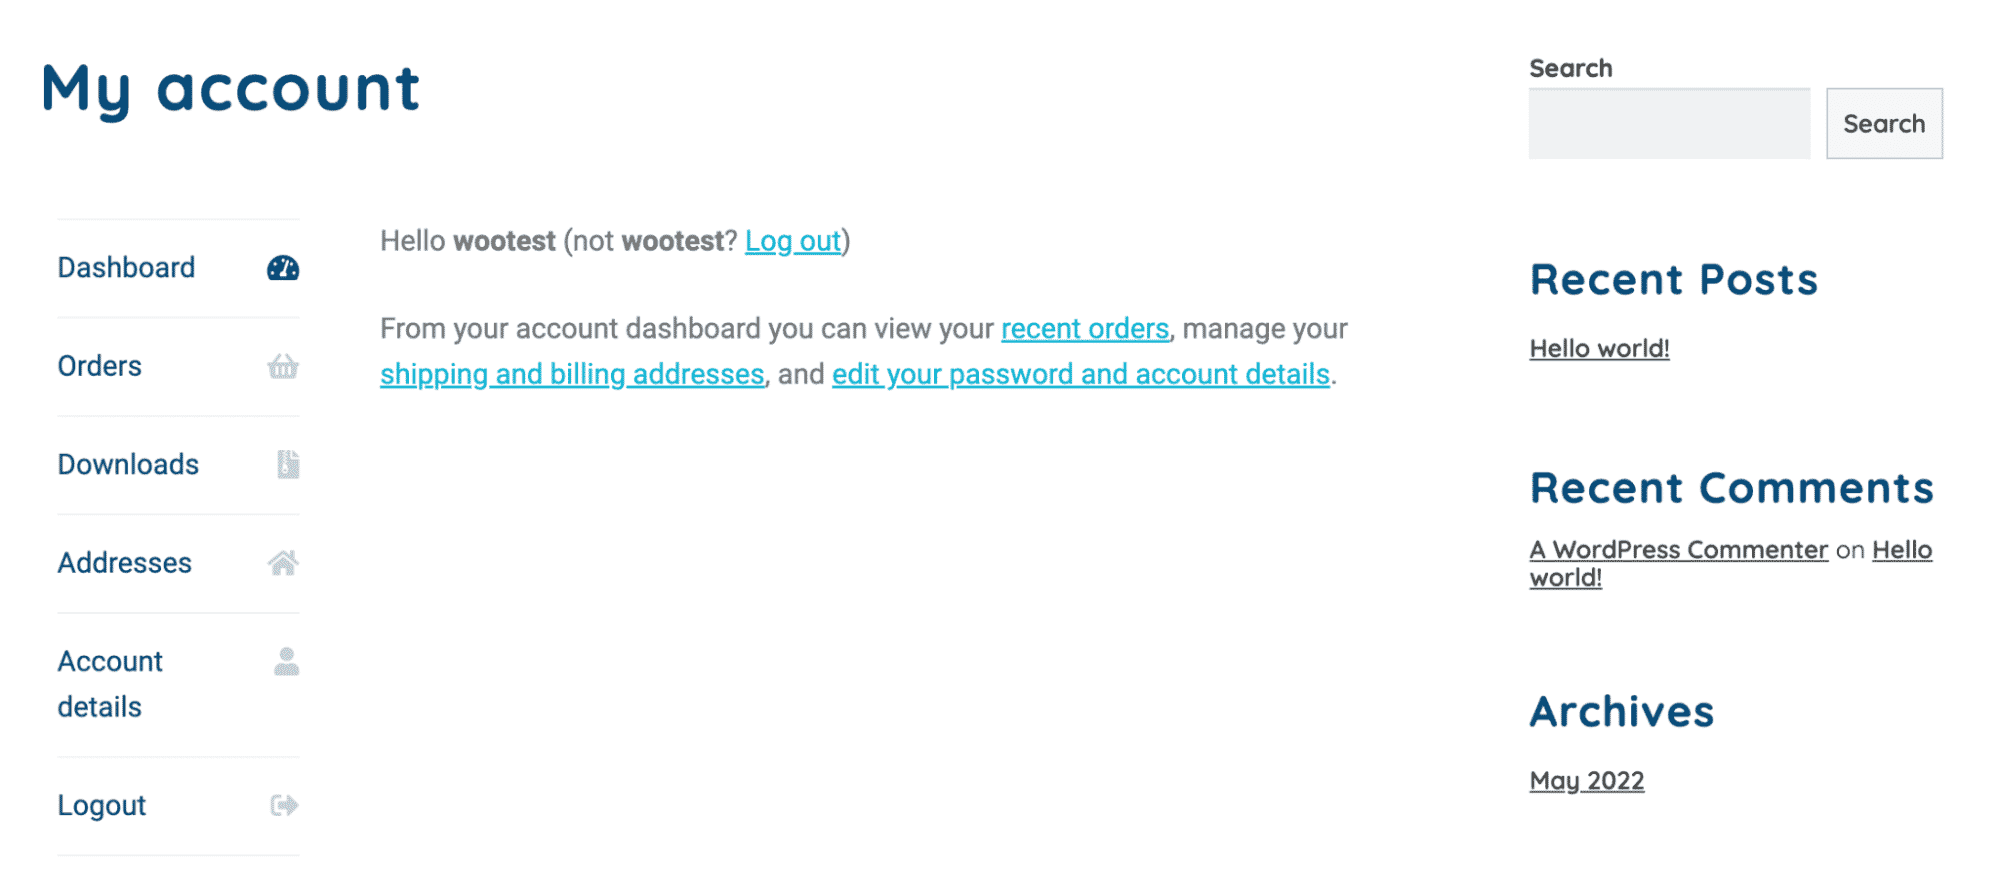
After you familiarize yourself with the default look of the page and have some changes in mind. we are ready to go – but not without a word of caution.
Disclaimer: When working on a live site it is always very important to make a backup before making any changes. If your site is already getting customer traffic, we recommend implementing changes in a staging environment before implementing them on your main site.
Now, let’s start by heading over to your WordPress Dashboard > Pages > My account > Edit.
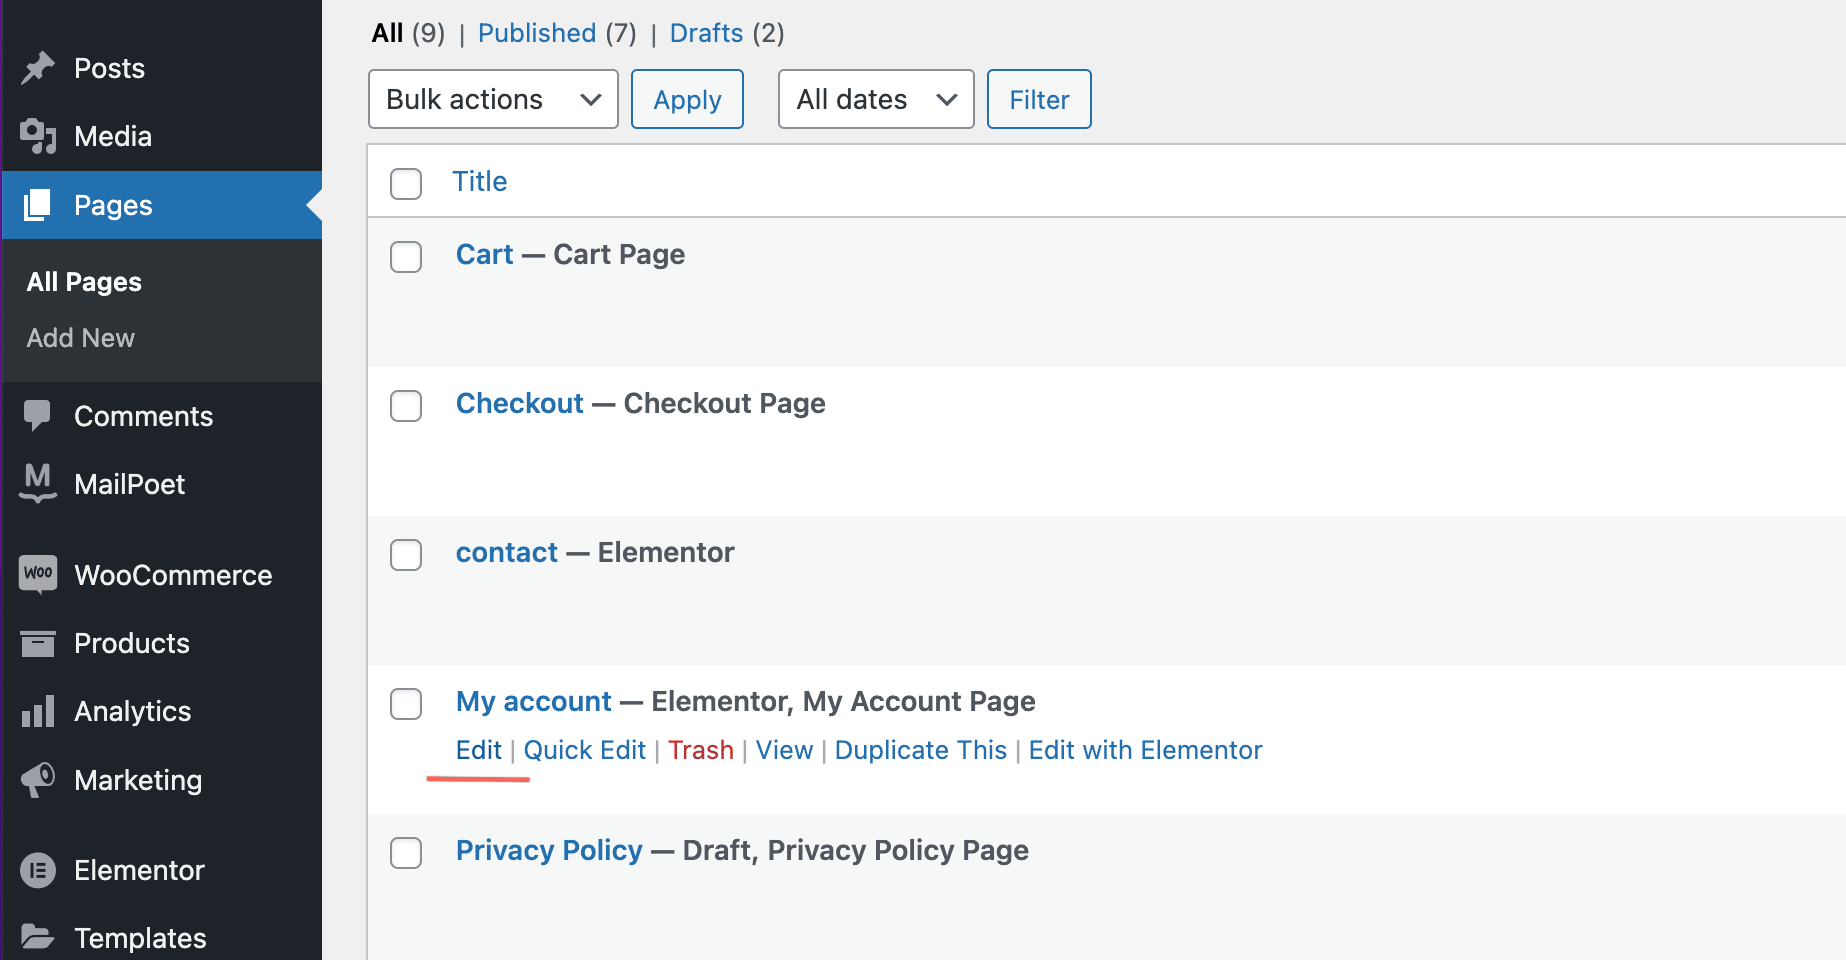
Next, click on “Edit with Elementor” to open the page in Elementor Page Builder.
Once inside the Elementor editor, the first thing we are going to do is click on page settings, it is a gear icon, we find it in the lower-left corner, and click on “Elementor Canvas” at page layout, and then on update.
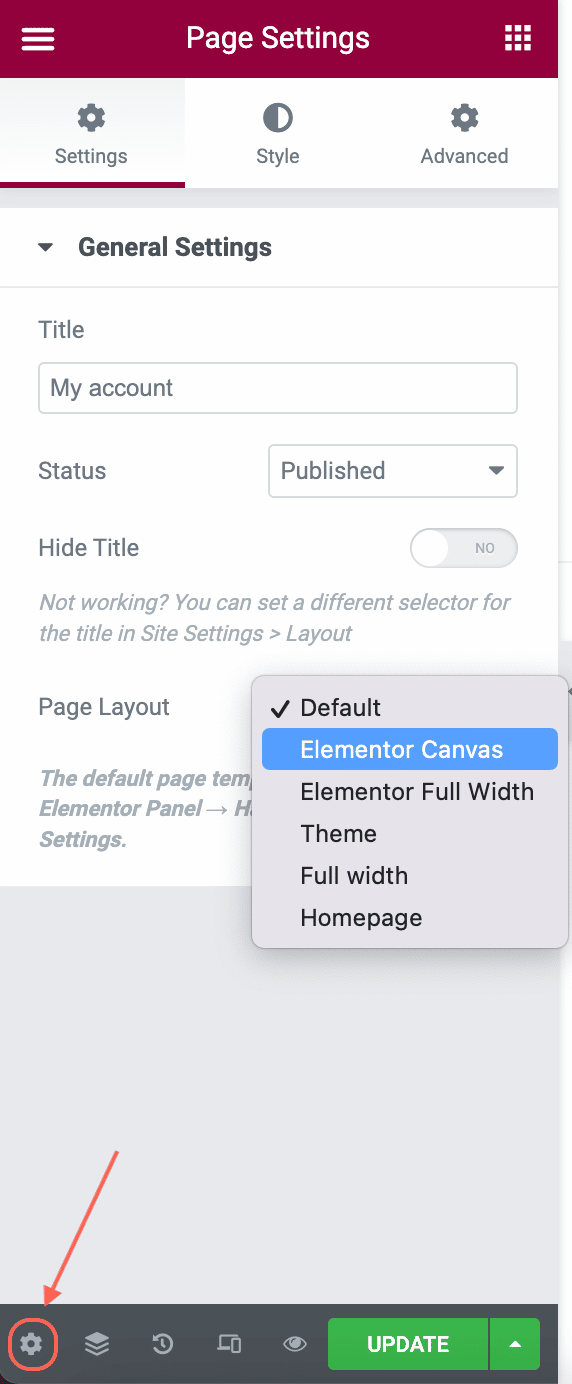
This will change the mode in which the content is displayed to full-screen mode and remove the sidebar.
Copy the text that is in the only existing block on the page and create a shortcode type block where the text that we previously copied will be pasted.
This seems to be the same information but actually is a different widget we are using now, it’ll give us more customization options in the future. Then, proceed to delete the block that existed initially by clicking on the “x”.
Now we are going to hide the left sidebar with a few lines of CSS code so the information on the right side is displayed full screen.
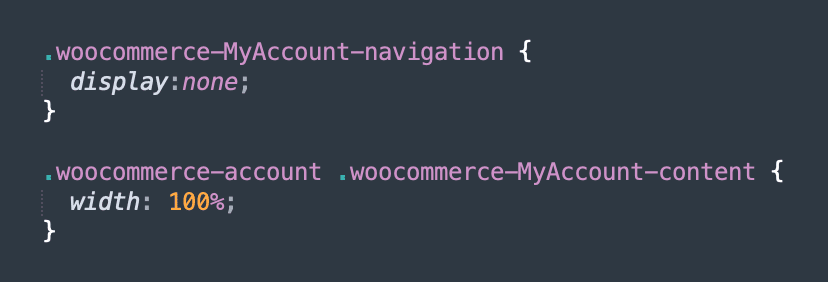
Basically what this code does is hide WooCommerce navigation with the statement “display:none;” and the other line forces the content to take the full width of the screen with “width:100%;”
You can add this CSS code at Appearance > Customize > Additional CSS.
Now we continued by creating a hero banner. For this, we added a block of two columns: one to add the title and the other to add a representative image with a blue background.
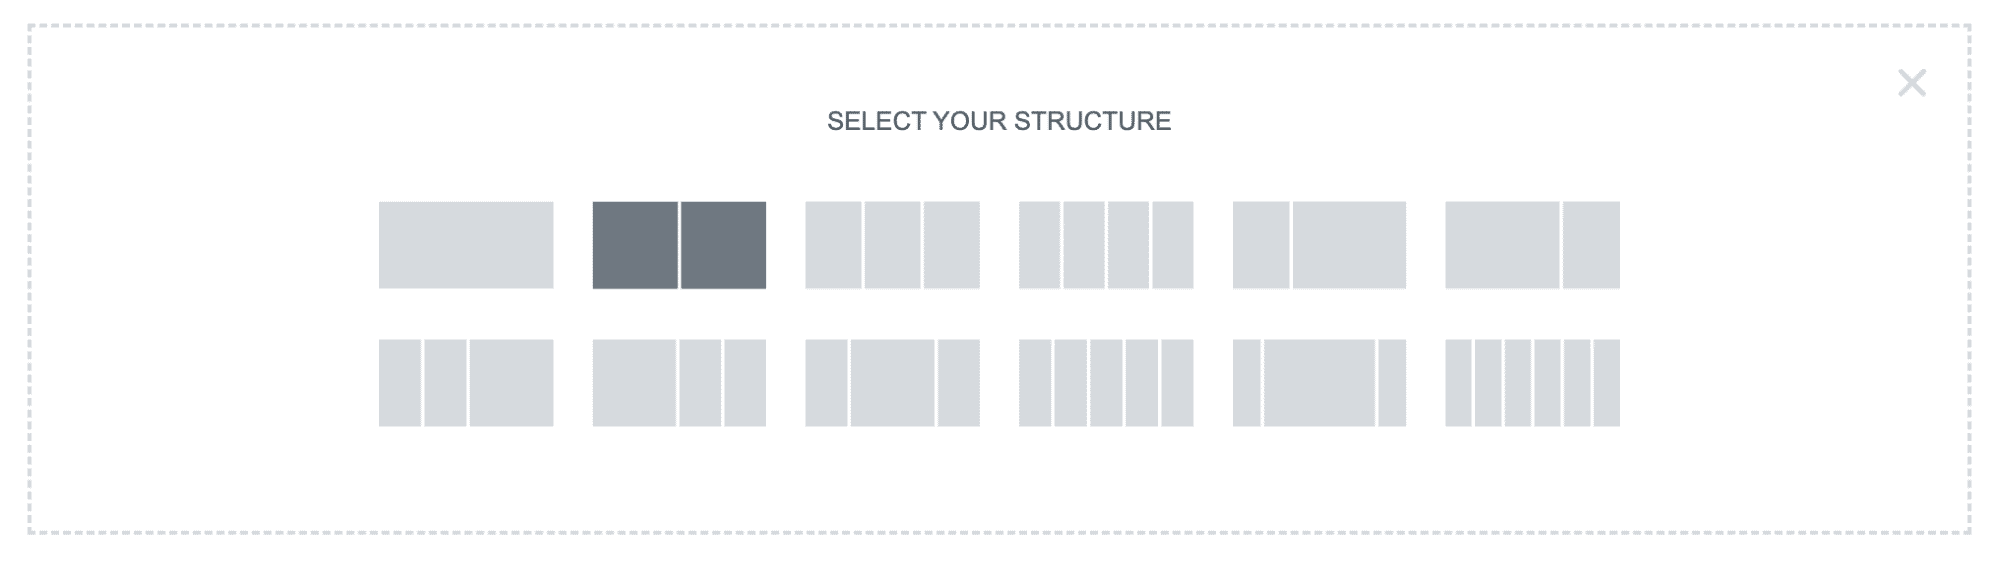
We set the width of each column so that it is 70-30.

Next, we added a title, subtitle, and image.
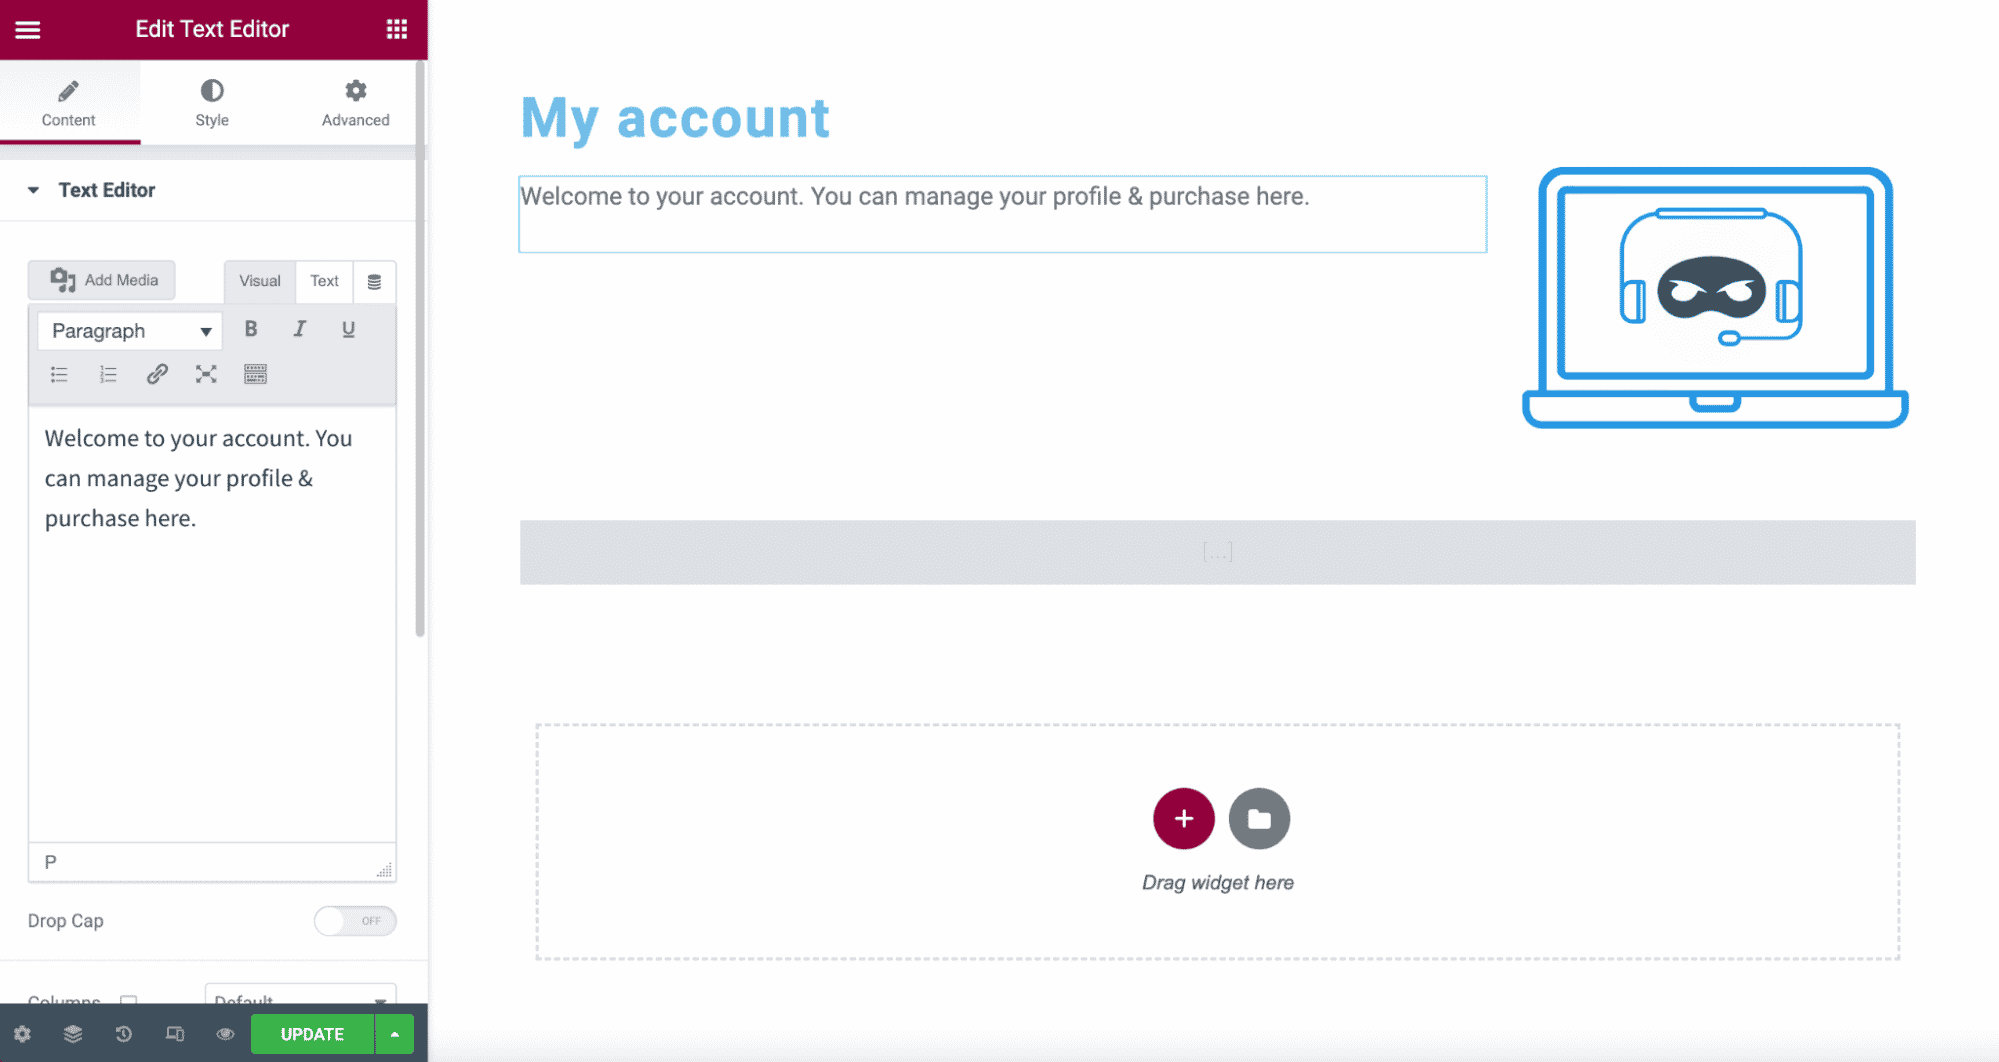

We customized the style by tailoring elements like background color, font size, color, and padding to make it look better.
You can add button-type elements that work as the controls of your navigation on this page. We can also give buttons different styles by customizing their typography and colors.
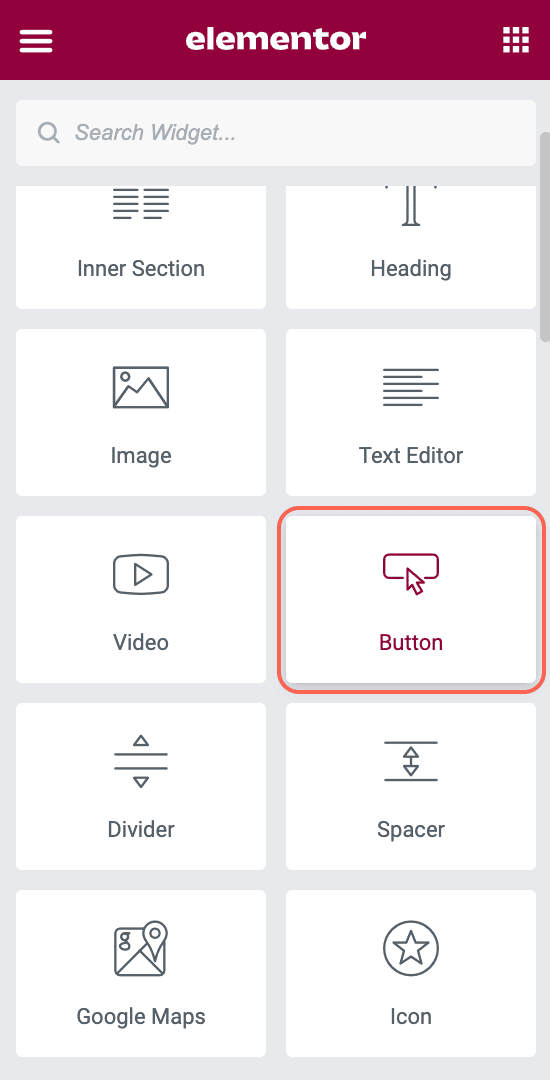
If necessary, duplicate the button as many times as it will be used. In this case, we will be needing 6 buttons for our page navigation. We do this by right-clicking on the element and “Duplicate”.
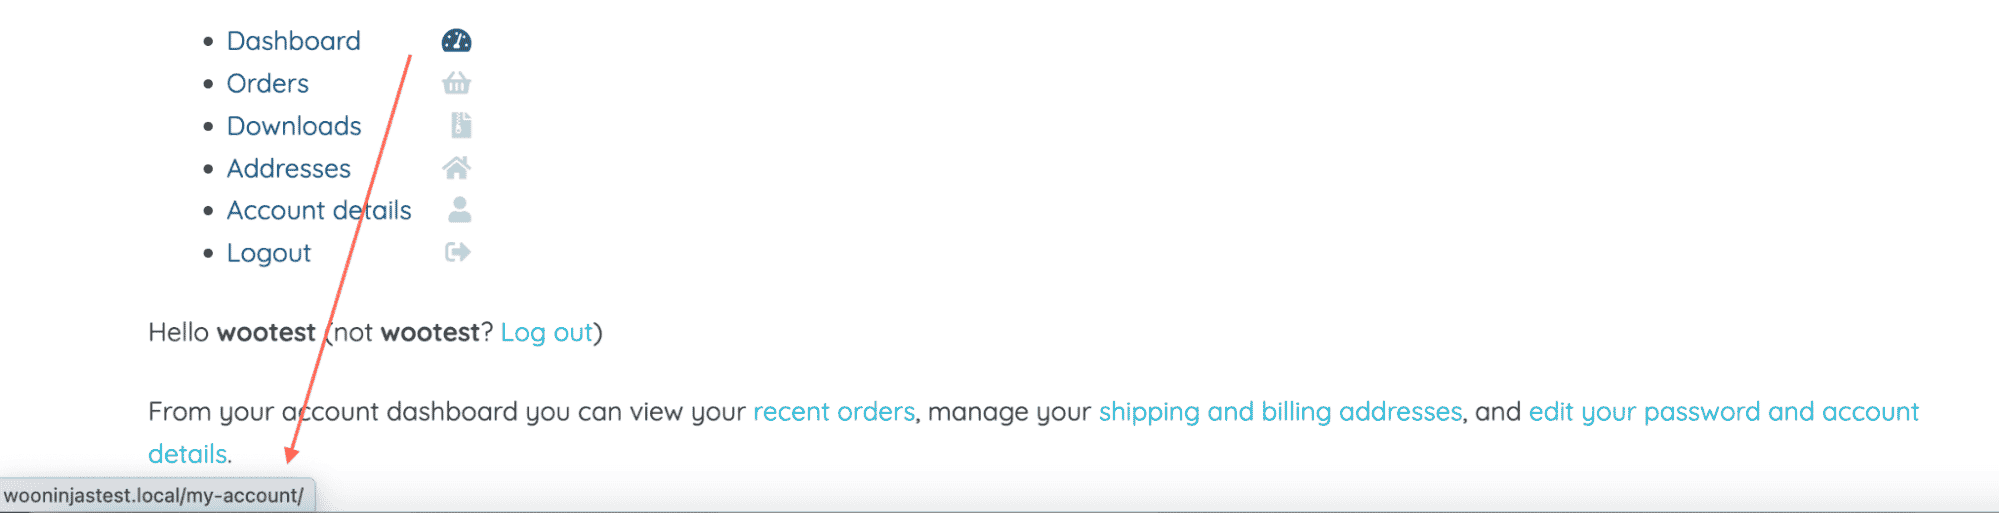
Now we only have to place the links to which each button will direct the user to.
Then, finalize details on the buttons and add a negative margin of approximately the size of the button so that it overlaps the hero banner.
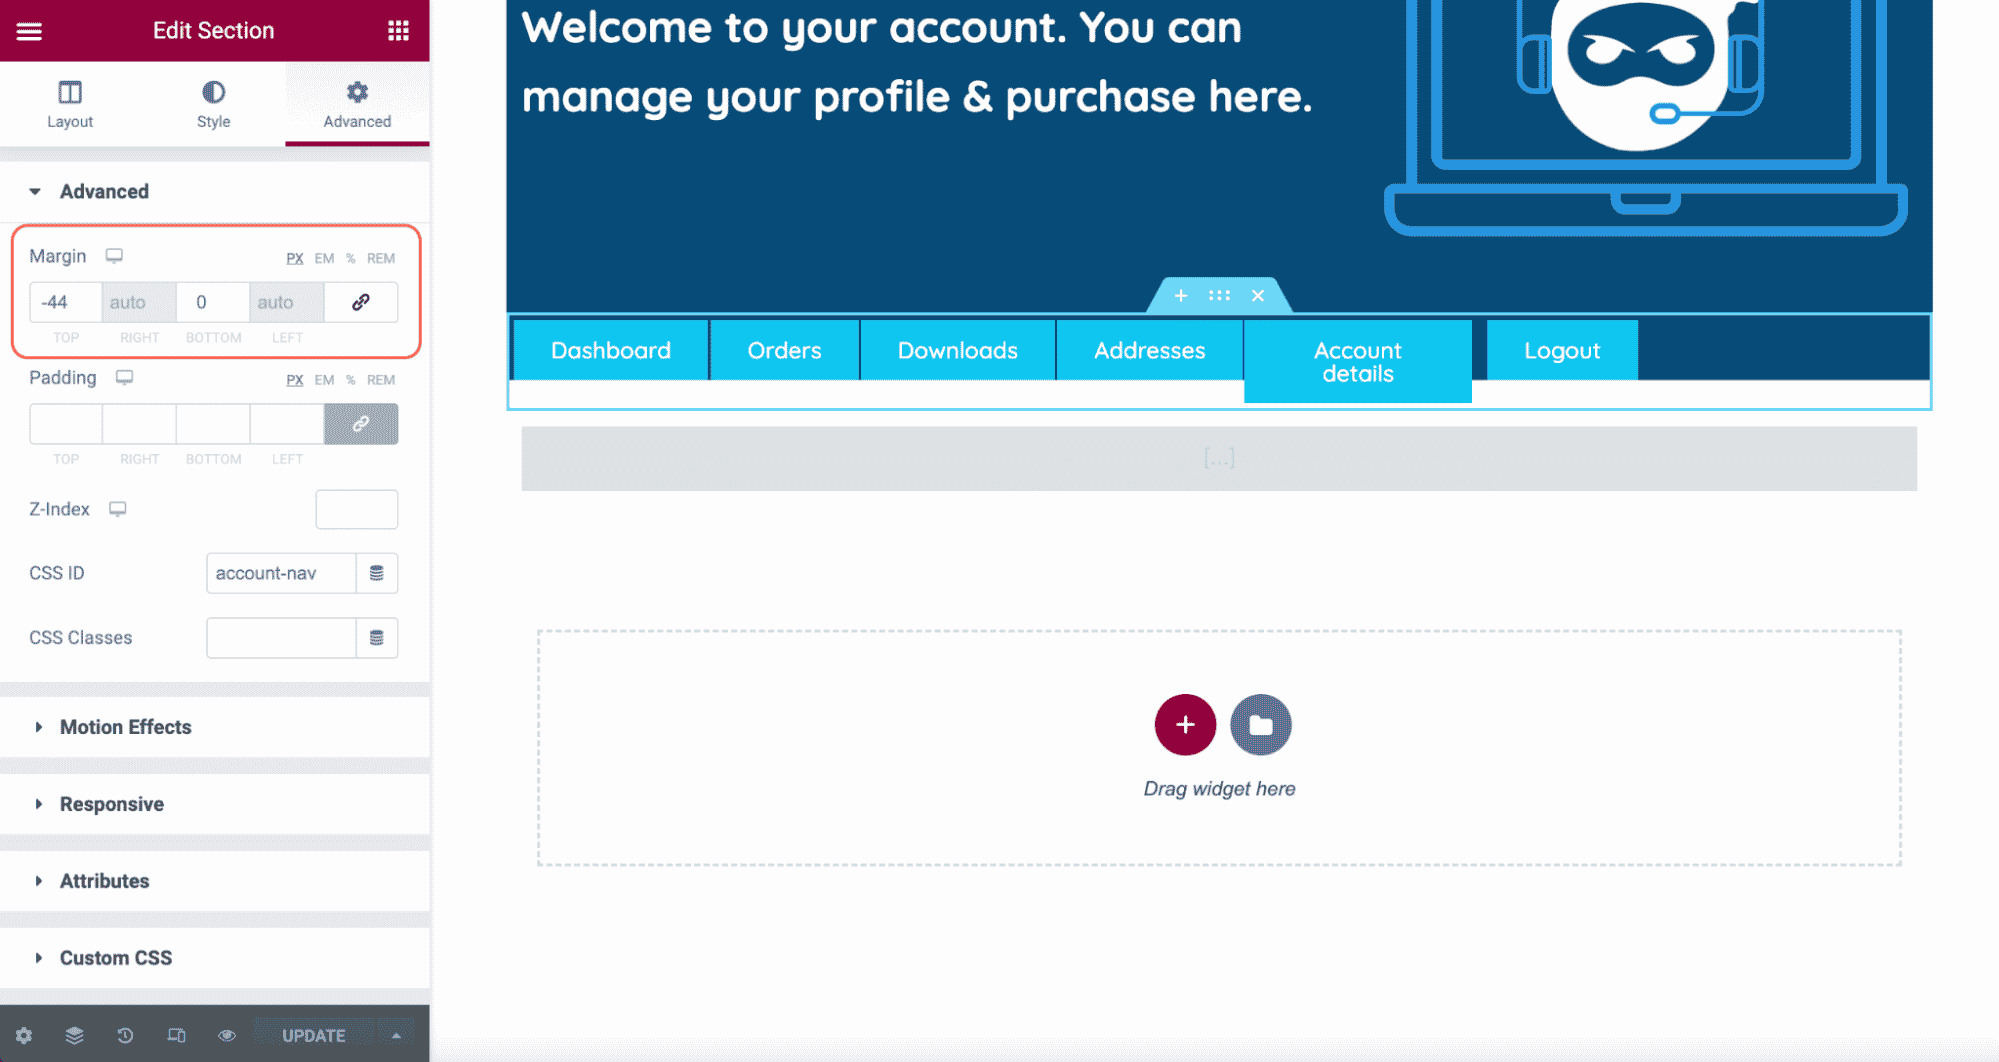
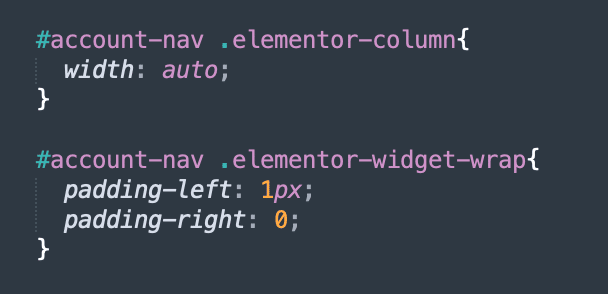
Add an ID to the container to give it style with CSS code.
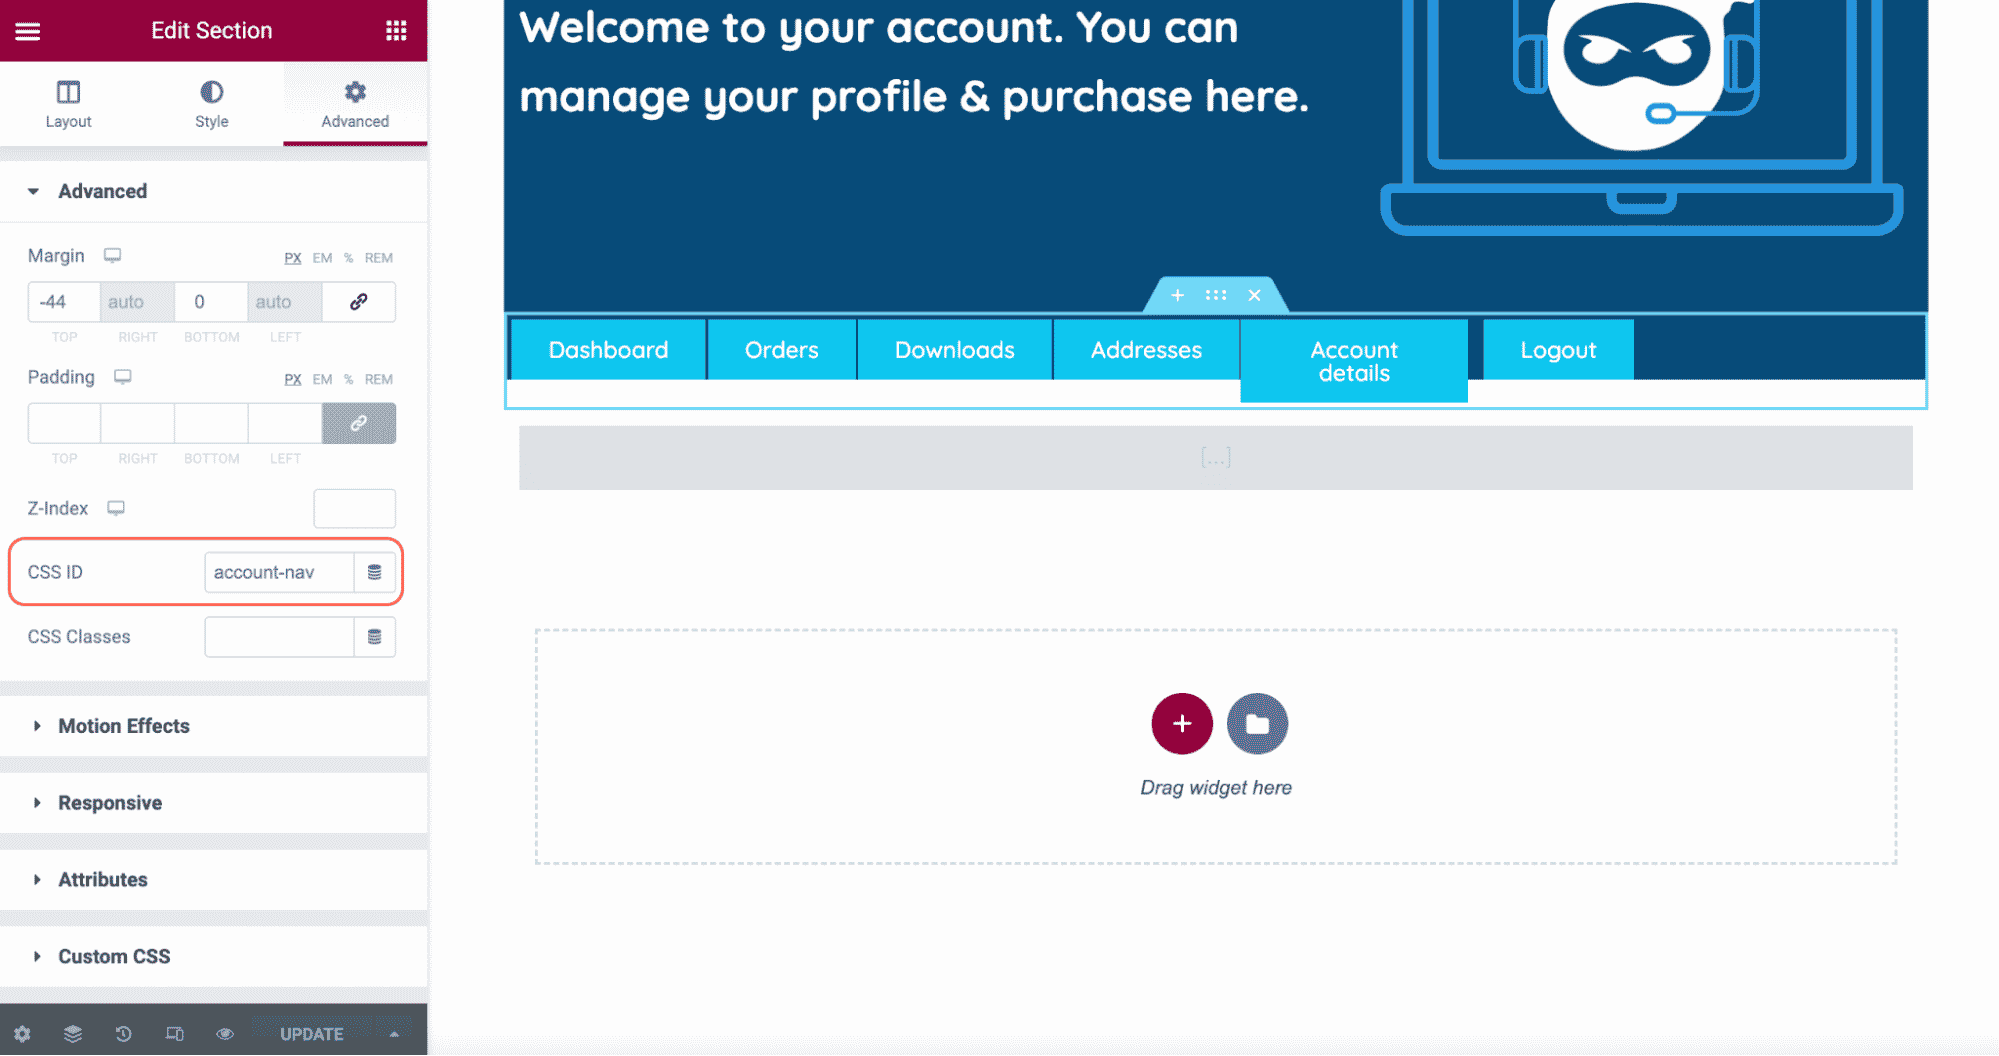
You can paste these lines of code into the additional CSS section to correctly align the buttons.
Finally, add a spacer element to separate the hero banner from the user information.
Take a look at our finished result!
Conclusion
Have any questions? Let us know in the comments below. Need further help giving your WooCommerce site and e-commerce pages a unique look? Worry not, our WooCommerce development experts are here to help! Whether you are looking to build your site from scratch, configure a few plugins or customize the look of a set of pages, our team has you covered. Just reach out and tell us more about your project.


