With the Tutor LMS Parent & Student Access add-on, parents can enroll their children in the courses of their choice. They can also view students’ course progress on the parents’ dashboard. Below, you’ll find the instructions you need to follow to install and configure this add-on.
Video Tutorial
Watch the tutorial video below for a quick walkthrough of the add-on’s features and setup process.
For detailed instructions, please continue reading the full documentation. If you still have any questions, feel free to submit a support ticket.
Installation
- Install the TutorLMS plugin & activate it.
- Install the TutorLMS Pro plugin & activate it.
- Install the WooCommerce or Easy Digital Downloads.
- Install Parent & Student Access for TutorLMS and activate it.
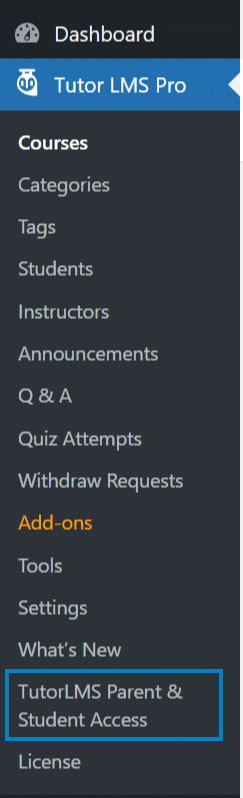
- A new “Parent & Student Access for Tutor” menu will appear under the TutorLMS menu.
Activate Your License Key
The license key can be configured from the License tab, found on the main Parent & Student Access for Tutor menu. License keys will be sent to your email address when you purchase the addon. Insert your license key in the field, then click Activate.

General Settings
Settings

Parent access:
Here, you can select the parent dashboard access in terms of the User Link Access and Link Child Tab access.
User role:
Here, you can select the User roles that will have access to the WordPress backend dashboard. These user roles will only have access to the Add Child tab.
Parent Email Subject:
Here, you can add the subject of the email that will be sent to the Parent.
Parent Register Email Template:
Set the email template that will be sent to parents once they successfully register from the frontend.
Child Email Subject:
Here, you can add the subject of the email that will be sent to the Child.
Child Register Email Template:
Set the email template that parents will send to their child by using the Parents Dashboard on the frontend.
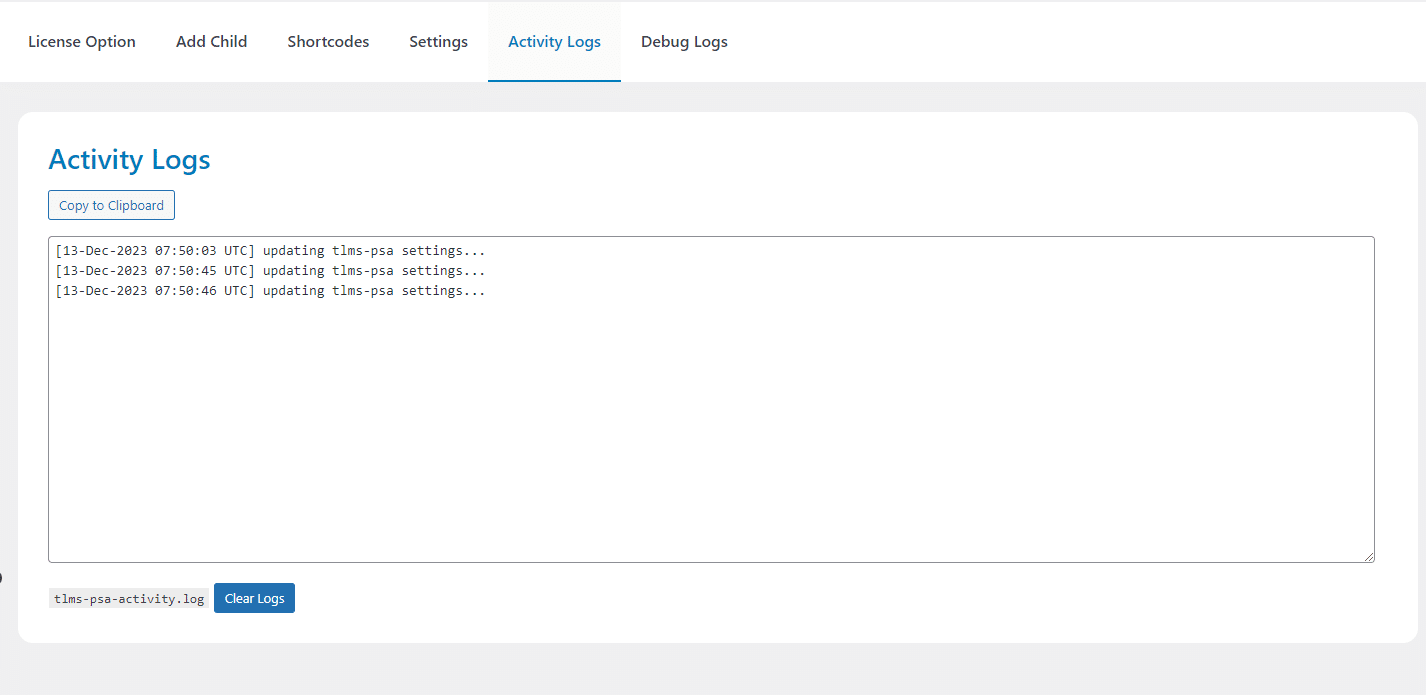
Enable Activity Logs:
Enabling this feature will create a log of actions taken within the addon. These actions are recorded, making it simpler for WooNinja’s support team to identify and resolve any issues efficiently. Once activated, a new tab labeled “Activity Logs” will be added, allowing you to clear and copy the logs. Additionally, you will be able to find the “tlms-psa-activity.log” file in the “(Your Website Name) \wp-content\uploads” directory.
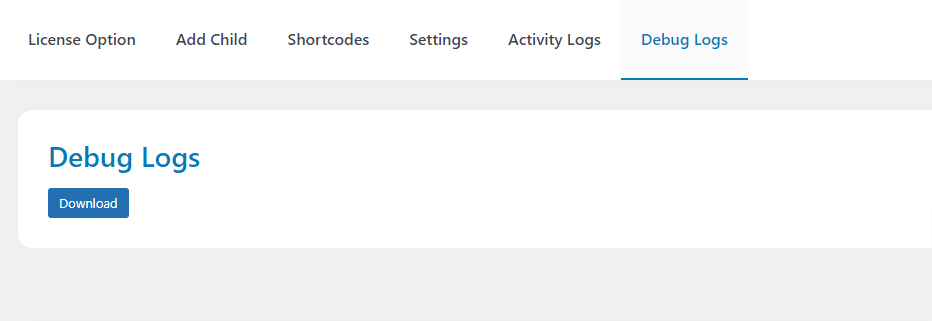
Enable Debug Logs:
Upon enabling this feature, the system generates debug logs. These logs will record all the errors and warnings, making it simpler for WooNinja’s support team to identify and resolve any issues efficiently. Once activated, a new tab labeled “Debug Logs” will be added, allowing you to download the logs.
Redirection Login/Registration:
From this dropdown menu, you can choose the page where users will be redirected after they register or log in.
Enable Child Linked Email:
Here, you can choose whether you want an additional separate email to be sent to children when their user account is successfully created and has been successfully linked to a parent’s account on the website.
If this option is enabled, an additional “Child Linked” email will be sent from the following 4 places when the parent enters the child’s information:
- [psaft_registation_form] (When both the parent and the respective child’s account information are submitted together)
- [psaft_parent_dashboard] (When the student’s information is submitted in the “Register Your Child” section in the “Register New Child” tab)
- [psaft_child_registration] (When the student’s information is submitted in the “Register Your Child” section)
- TutorLMS Dashboard (When the student’s information is submitted in the “Register Your Child” section in the “Register New Child” menu)
Child Linked Email Subject:
Here, you can add the subject of the email that will be sent to the child when their account is successfully created and linked to a parent’s account on the website.
Child Linked Email Template:
Here, you can set the email template that will be sent to the children when their user account is successfully created and linked to a parent’s account on the website.
Shortcodes
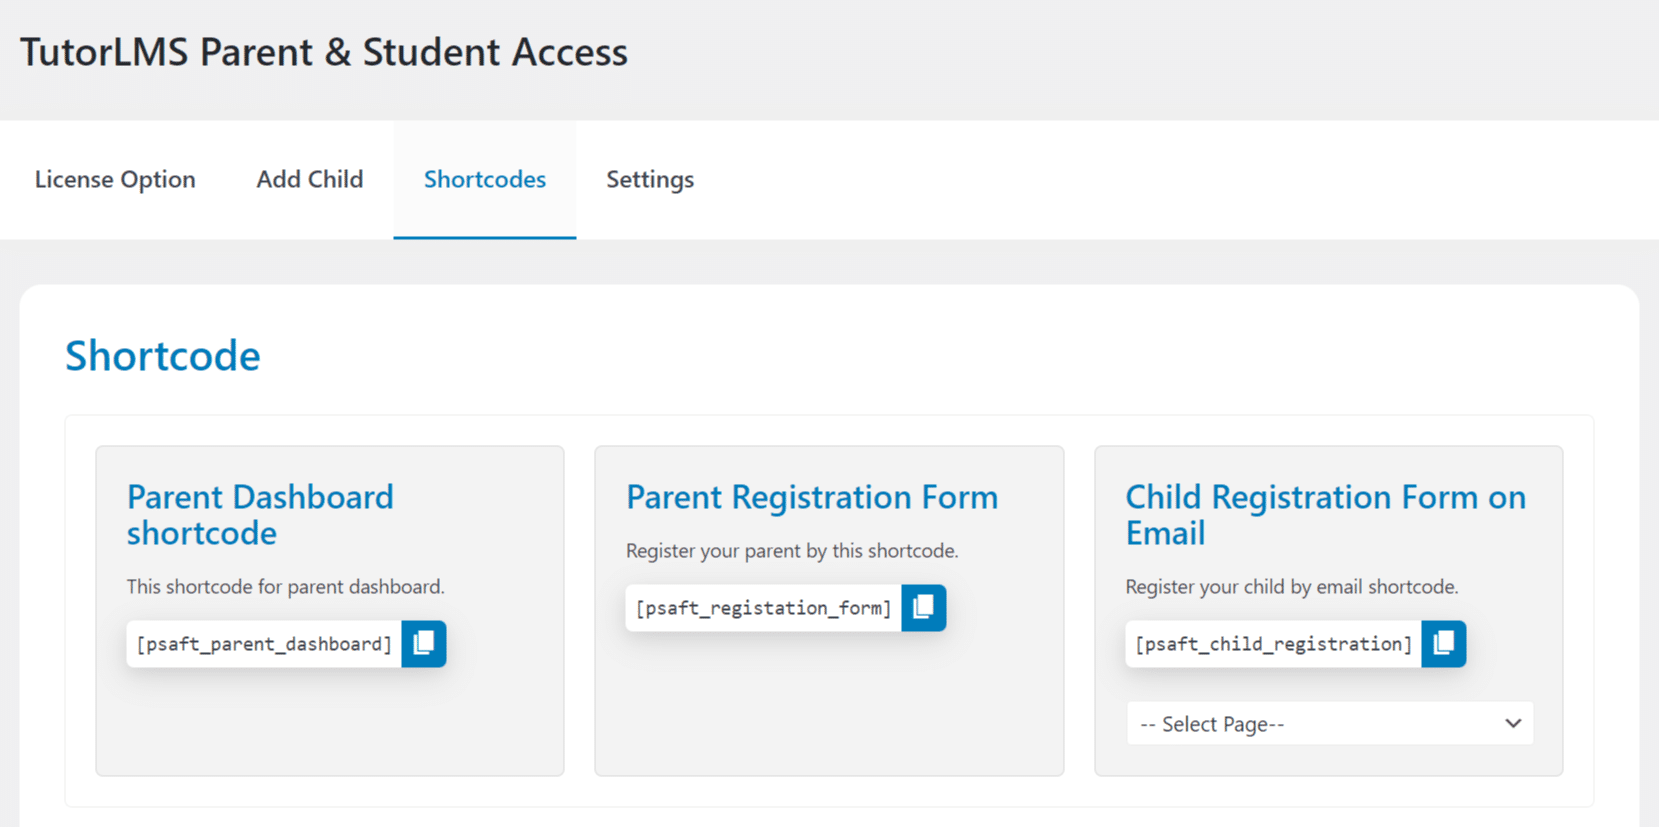
Parent Dashboard form: This shortcode creates a Parent Dashboard that allows linking, unlinking, registering, inviting a child, and checking their child’s progress.

This shortcode also has a WordPress block created for it named “Parent & Student Access – Parent Dashboard”.

Parent Registration form: This shortcode allows you to add a registration form for parents to any page. On the registration page, there will also be an Add Child button from where the Parents can register their child while registering themselves.

This shortcode also has a WordPress block created for it named “Parent & Student Access – Registration Form”.

Child Registration form: You have to place this shortcode on a dedicated page where only the student/ child can register. You can select this shortcode-added page from the dropdown, available on the Shortcode settings tab. Students invited by email will land on this page to complete their registration. Only the parents will be able to access this shortcode on the frontend to enter their child’s email (so they can enter their account information themselves) or create their child’s account on the site themselves directly by entering the 3 respective fields (User Name, Email, Password) of the child required for their account creation. If the parent uses the “Child Invitation For Registration” form, an email will be sent to the children to create their own accounts on the site, each with a unique invitation link that the child can use to enter their information and create their account themselves. When the child enters his information to create an account (Child form fields will be asked on the frontend), if the “Enable Child Linked Email” option is enabled in the backend, then the child will receive a confirmation email regarding their account creation and linking to the parent’s account on the site.


This shortcode also has a WordPress block created for it named “Parent & Student Access – Child Registration”.

Parent Form
This tab allows administrators to customize the registration form for parents by adding, removing, or modifying fields. Each field has a Field Name, Field Label (visible on the form), Field Type (e.g., text, email, password), and options to mark it as Required or Hidden. Admins can easily add new fields or adjust existing ones to suit specific requirements. Once changes are made, clicking the Save Fields button will update the parent registration form accordingly.

Child Form
This tab allows administrators to customize the registration form for students by adding, removing, or modifying fields. Each field has a Field Name, Field Label (visible on the form), Field Type (e.g., text, email, password), and options to mark it as Required or Hidden. Admins can easily add new fields or adjust existing ones to suit specific requirements. Once changes are made, clicking the Save Fields button will update the student registration form accordingly.

Add Child
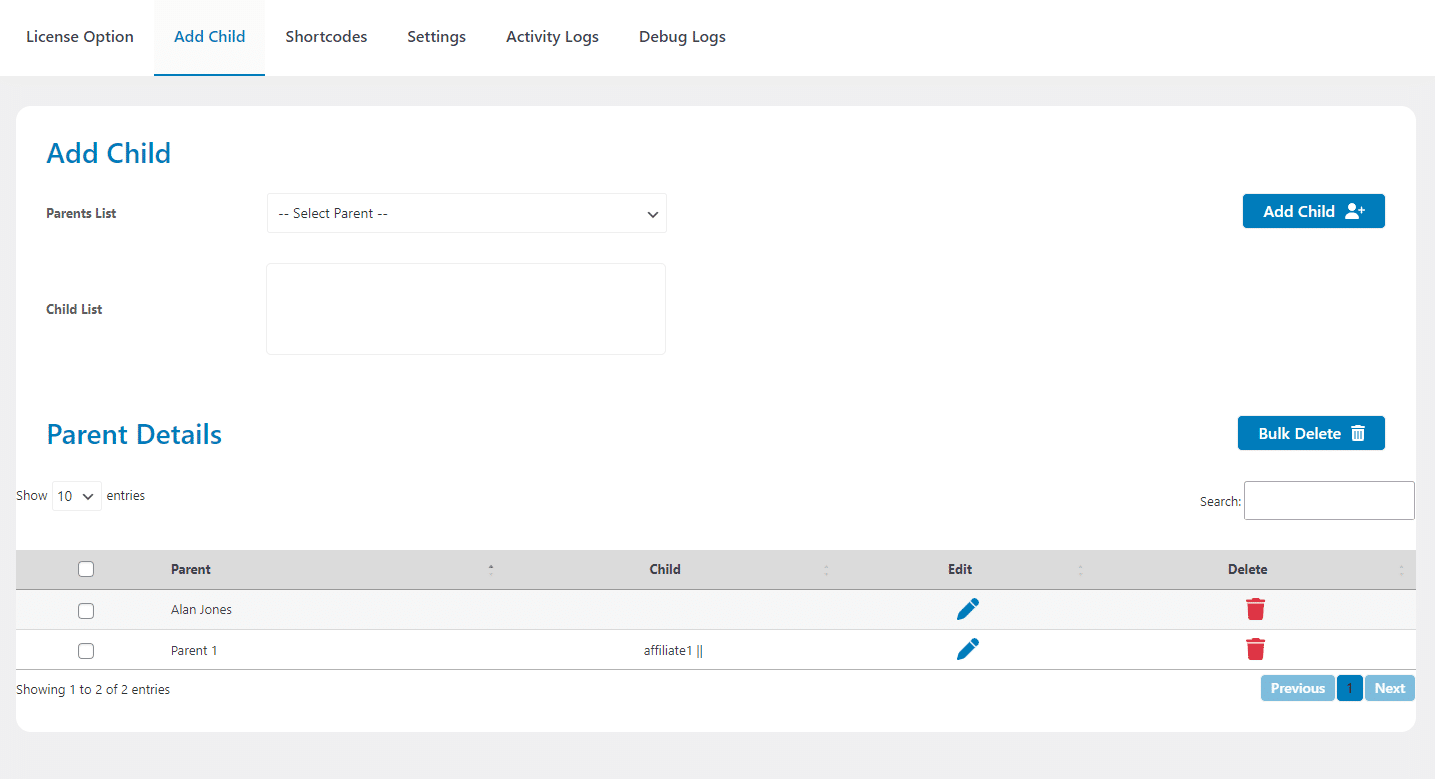
The user role that has been given access to the dashboard can add children from this tab.
Parent List: Once the parent registers successfully, you can select the parent from this dropdown.
Child List: After the child’s successful registration, you can add the child of the parent here. Finally, click the “Add Child” button.
After these options, there is a table that will show all of the parent and child entries, and you can also edit or bulk delete them.
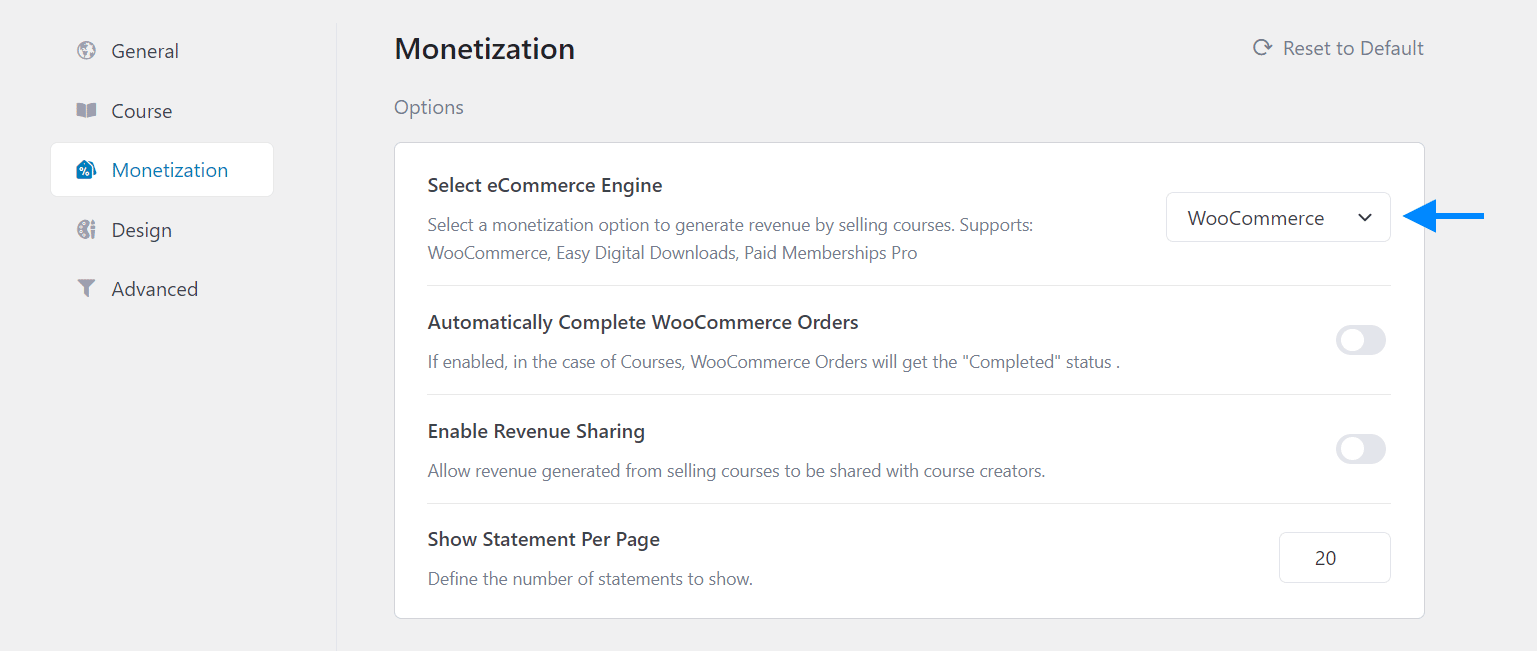
Add Product for Tutor
Before adding a new product, ensure an eCommerce engine is selected within the TutorLMS Monetization settings.
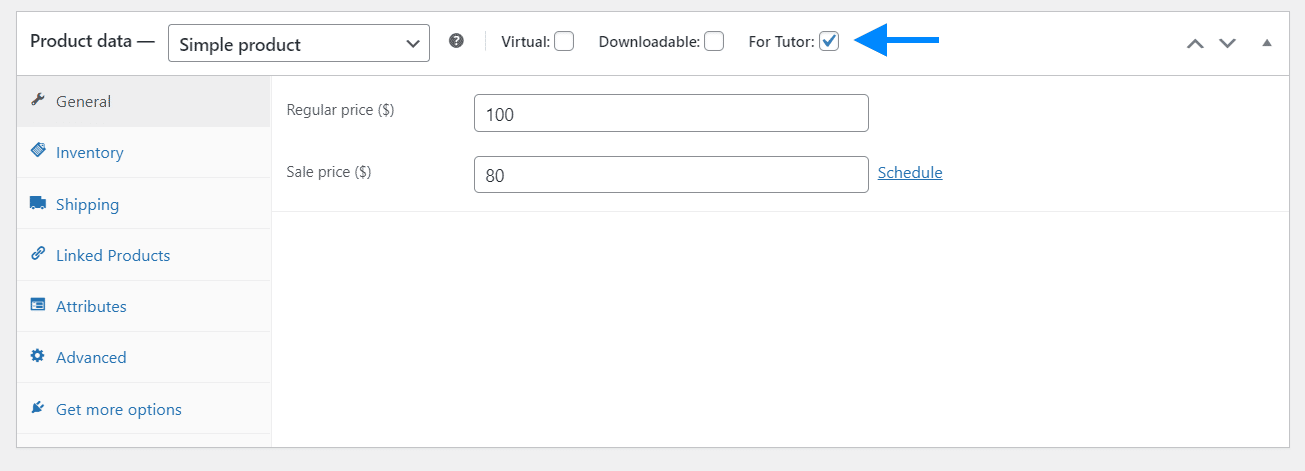
Now navigate to Products > Add New or Edit an existing product > add your product details and checkmark the “For Tutor” checkbox.
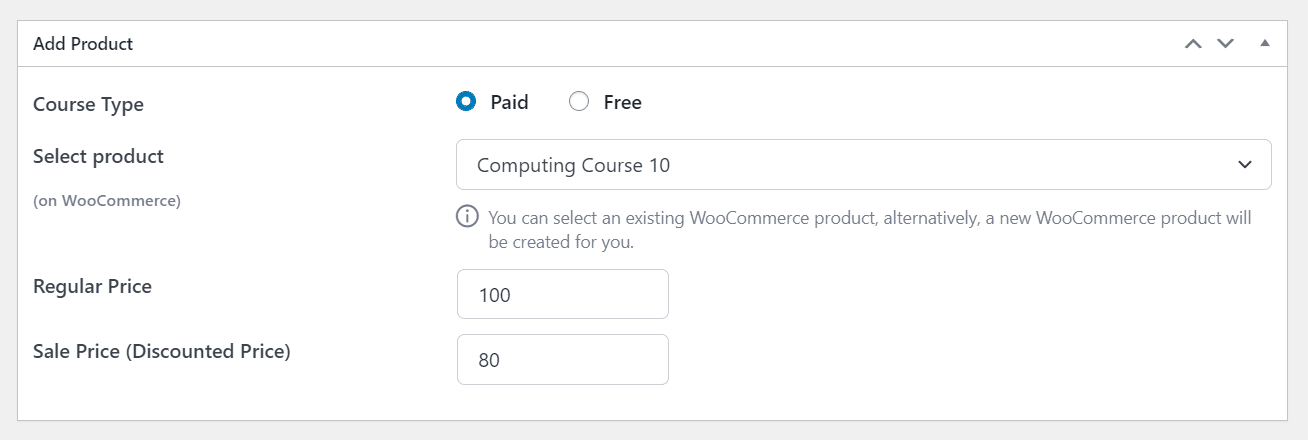
Select Product from the Course settings
Navigate to Courses and edit the course for which you want to add the existing WooCommerce product. From the “Select Product” dropdown, select the product and click on Save changes.
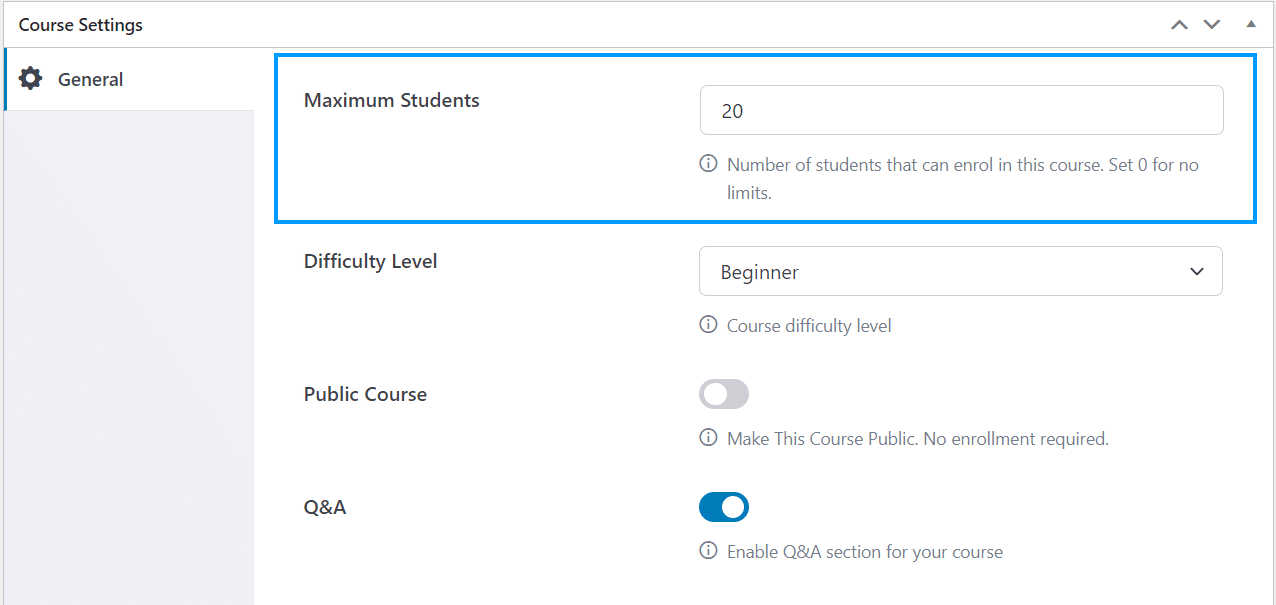
Purchase Multiple Seats
The Parent & Student Access addon also allows Parents to purchase the course seats in bulk. Within the “Course Settings” meta box, you can set the maximum number of seats that will be available to purchase.
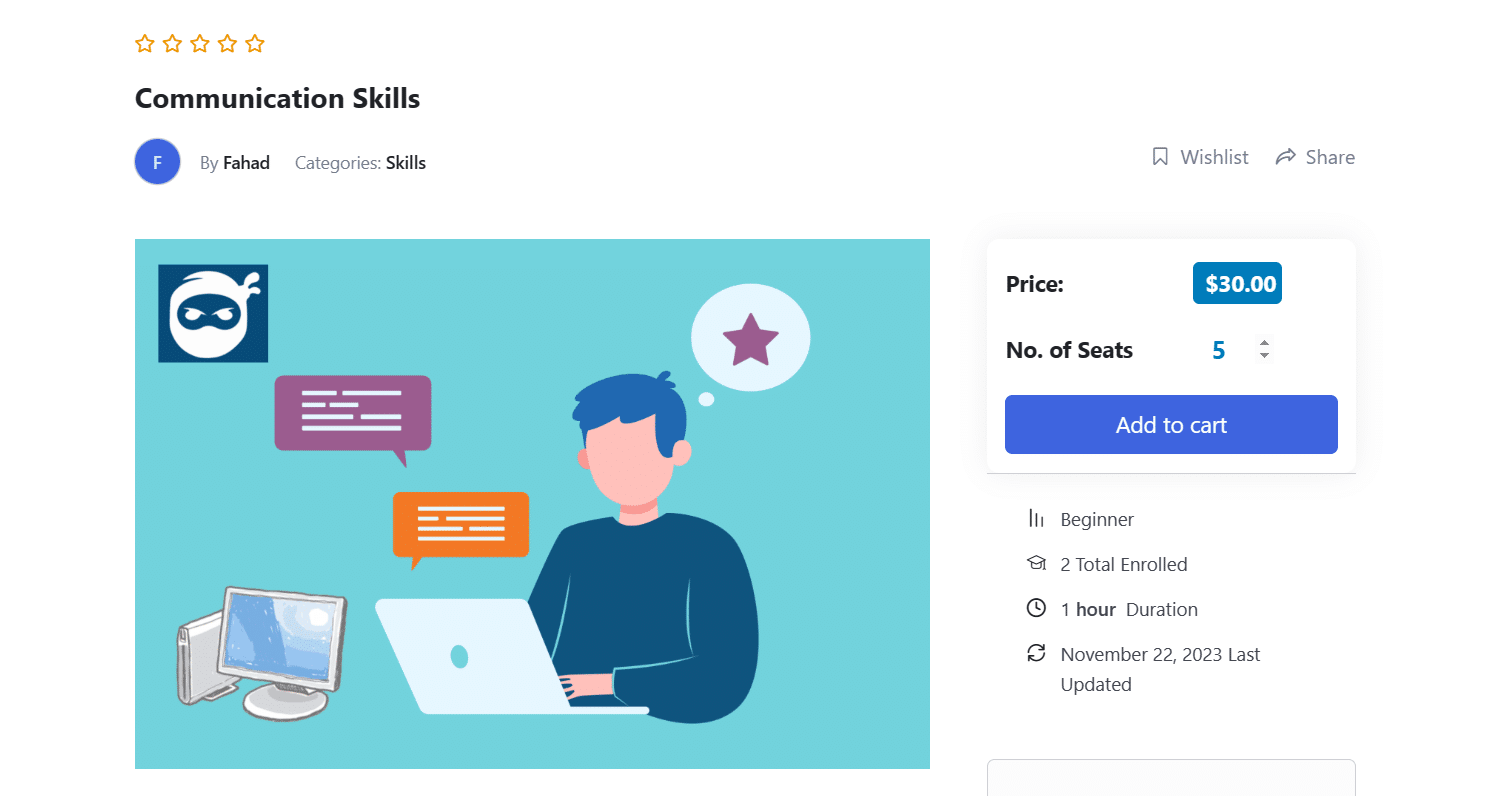
This is how the Course Main page will look
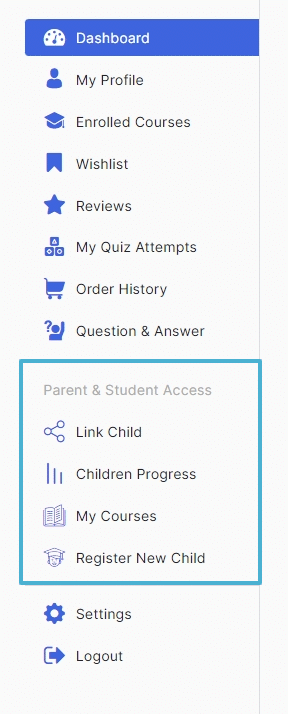
Parent Dashboard
The Parent Dashboard is designed to be visible on the TutorLMS Dashboard exclusively for parents. Additionally, through our provided shortcode, you have the flexibility to display the parent dashboard on any desired page.
Custom Placement with Shortcode
Use our flexible shortcode [psaft_parent_dashboard] to seamlessly integrate the Parent Dashboard into any page of your choice. This provides a convenient way for parents to access and navigate the Parent Dashboard beyond the default TutorLMS Dashboard.
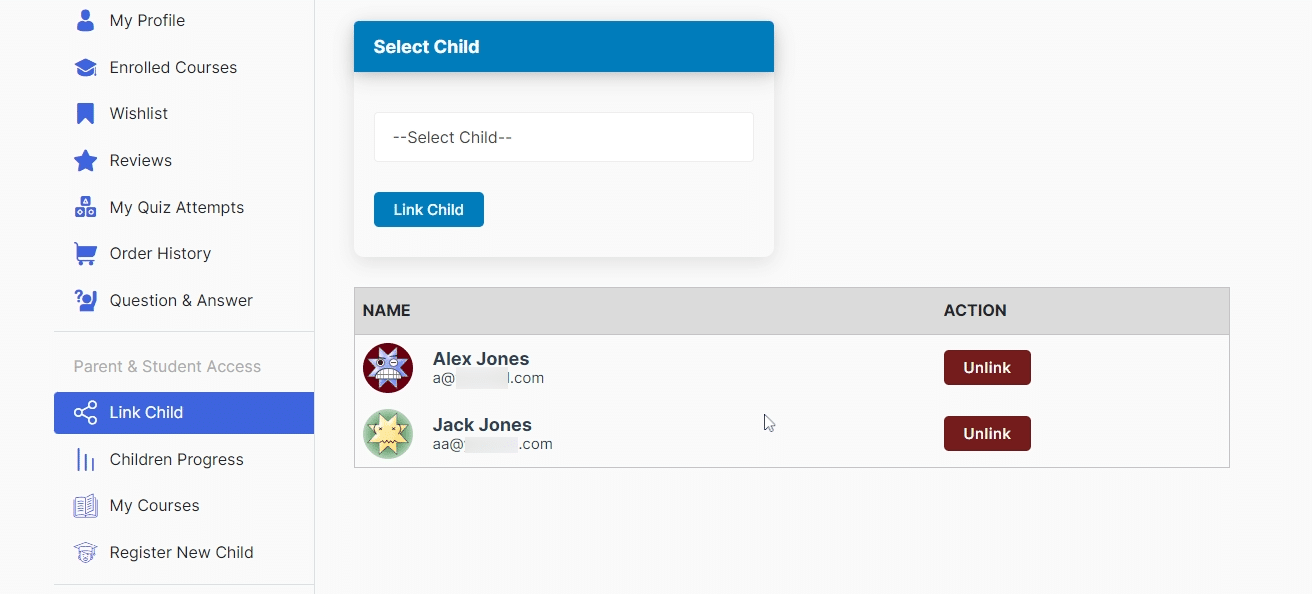
Link Child
This is the first tab of the Parent Dashboard, and here parents can link and unlink their children.
- To link, select the child from the dropdown and click on the Link Child button.
- To Unlink, click on the Unlink button that appears in front of every linked child.
- You can also download the child list by clicking on the Export button.

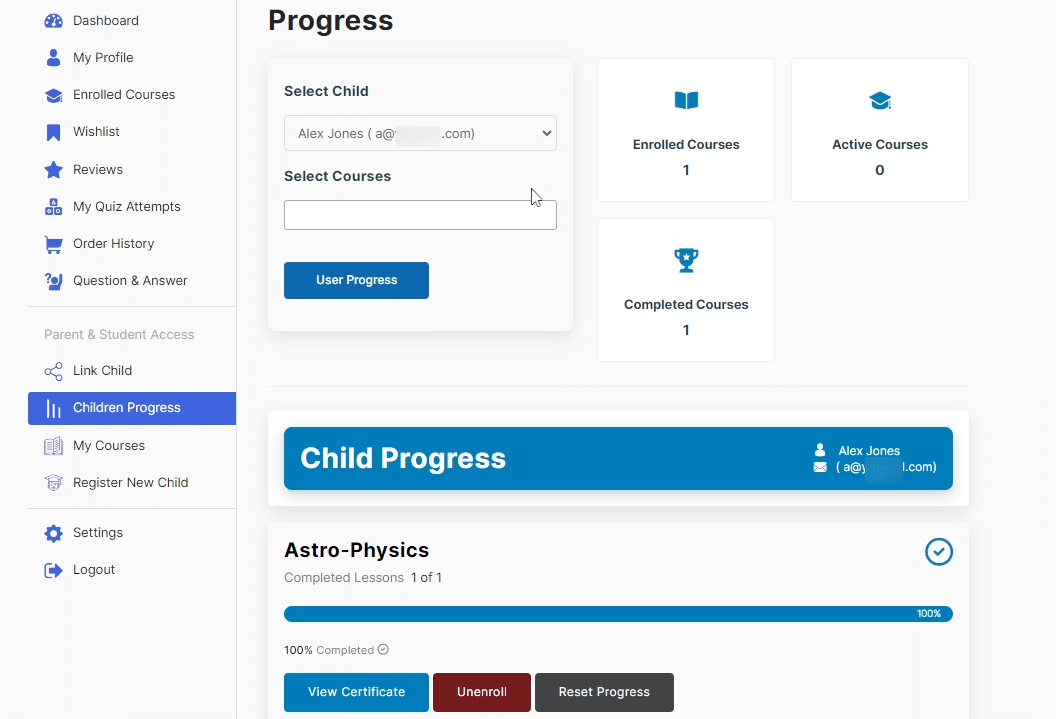
Children Progress
This is the second tab, and here you can see the total number of enrolled, active, and completed courses along with the child’s progress. To check the specific course progress:
- Select the child from the Select Child dropdown menu.
- Select the courses from the Select Courses dropdown menu.
- Click on the User Progress button.
- To download the progress, click on the Export button, and it will be downloaded in XLSX format.
You can unenroll the child or reset the course progress directly from under the course progress bar by clicking on the Unenroll and Reset Progress buttons, respectively.

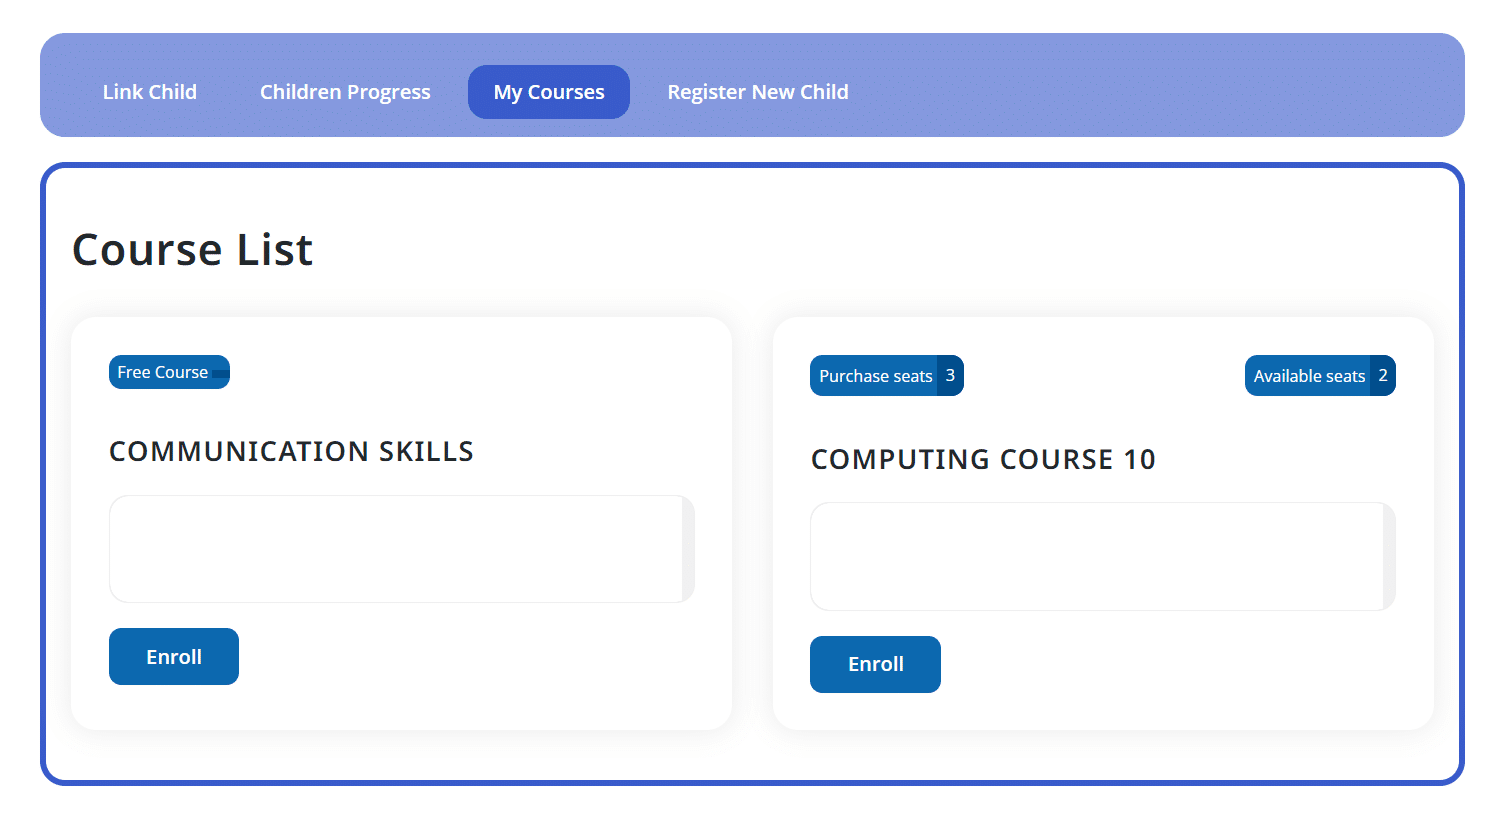
My Courses
Once the parent enrolls in a course, from this tab, you can enroll children in that course. To enroll a child in a specific course, simply select the child’s name from the Select Child dropdown of that course and click on Enroll. If the course is paid, then the number of Purchase and Available Seats will appear on that course as well.
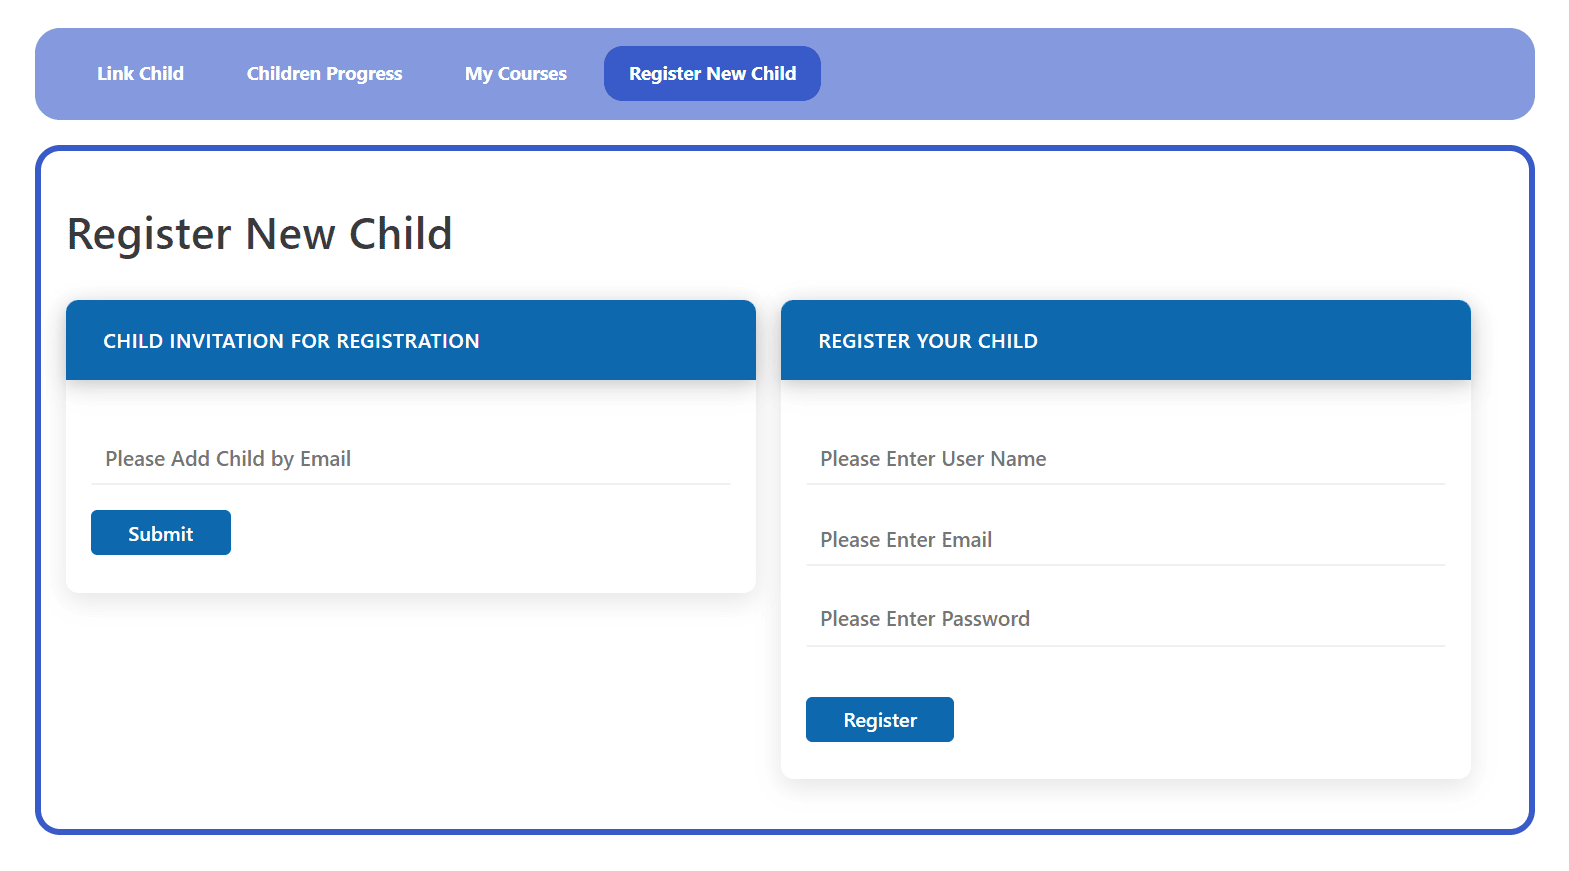
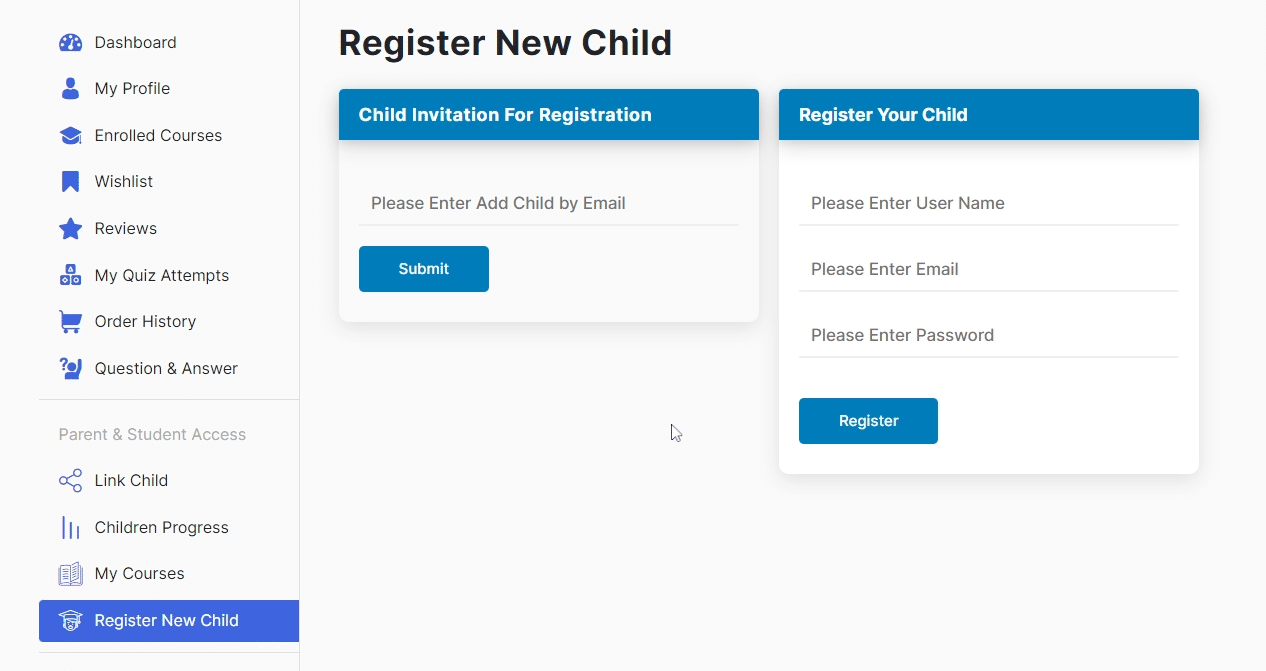
Register New Child
This is the last tab, and here you can send the invitation email to your child for registration. If you have access to the child’s email, then instead of inviting, you can register him/her directly as a child on the site.
On the Default TutorLMS Dashboard
The Parent Dashboard is inherently designed to appear on the TutorLMS Dashboard for parents. This default setup ensures that parents can readily access and explore the Parent Dashboard without any additional configuration.

FAQ’s
To add a child, how many ways are supported by this addon?
You can add a child by following two ways:
- Parent Registration form: On the parent registration page, there will also be an “Add Child” button from where the Parents can add their child as well while registering themselves.
- Parent Dashboard (Register New Child): If you have access to the child’s email, then here you can register him/her directly as a child.
How to invite a student by email to register?
To invite a child by email, navigate to the Register New Child tab, available on the Parent Dashboard. Here, enter the child’s email and click on submit.
How will the child register if invited?
The invitation email will have a Child Registration link and when the child clicks on it, they will be redirected to the Child Registration form and he/she can sign up by filling out that form.
To link a child, how many ways are supported by this addon?
You can link a child in two ways:
- “Add Child” tab: The user role that has been given access to the dashboard can link children with parents from this tab.
- Parent Dashboard (Link Child): Within the Link Child tab, you can link and unlink the children with parents.
How many user roles are allowed to access the admin dashboard?
Currently, you can allow only 3 user roles, which are;
- Tutor Instructor
- Editor
- Author
Why aren’t the tabs created by the addon redirecting or working when parents access their dashboard?
Please ensure to update the permalinks from the WordPress Settings so that the changes can take effect.
The add-on is displaying error and the content is not visible on the frontend. How can I fix this?
If the add-on content doesn’t appear on your site after installation or activation, this usually happens because the WordPress permalinks need to be refreshed. To fix this:
- Navigate to your WordPress dashboard → Settings → Permalinks.
- Without making any changes, click the Save Changes button.
This will refresh your permalink structure and the add-on content should now display correctly on the frontend.
Changelogs
1.5.13
- Fix: Recalculate remaining seats from actual child enrollments to keep bundle and course seat counts accurate.
- Fix: Normalize parent-child lists to prevent duplicate or invalid child links across admin and frontend flows.
- Fix: Improve WooCommerce order status handling so seats are added once and removed on cancelled, refunded, or failed orders.
- Fix: Harden child registration, invite, and linked-child email flows when user data is missing or duplicated.
- Fix: Reduce debug noise and improve debug log download handling when the log file does not exist.
1.5.12
- Fix: Improved parent course enrollment validation, seat deduction, and messaging (prevents duplicate enrollments).
- Fix: Improved parent/child linking in admin (nonce handling, duplicate prevention, JSON responses).
- Fix: WooCommerce compatibility by using `get_id()` when reading orders.
- Fix: Hardened invitation/linked-child email handling when current user is missing.
- Fix: Frontend/admin JS now handles JSON responses consistently; fixes delayed reload and Select2 initialization.
1.5.11
- New: Introduced a new blocks that you can use on any page instead of shortcodes.
1.5.10
- Fix: Resolved security vulnerabilities and enhanced overall performance.
1.5.9
- Fix: Improved Licensing Module.
1.5.8
- Fix: Resolve child invitation registration flow.
- Fix: Resolved DB prefix issues.
- New: Added invitation accepted email for parent when child register through parent link.
1.5.7
- Fix: Resolved the license activation issue.
1.5.6
- Fix: Resolved dependency conflict with TutorLMS Pro.
1.5.5
- Fix: Export button now properly displays on child progress.
1.5.4
- New: Added Child Linked Email notification on child account creation.
1.5.3
- Fix: Resolved conflict with TutorLMS Audio Assignments.
1.5.2
- Fix: Resolved shortcode, popup reload, and Activity Logs clipboard issues.
- Fix: Improved overall UI consistency across dashboard elements.
1.5.1
- Fix: Resolved various dashboard and functionality bugs.
- Fix: Enhanced interface and user experience.
1.5.0
- New: Add compatibility support with course bundle.
- Fix: Fixed Product page of the bundles Critical Error.
- New: Course list ordering on Parent Dashboard.
- Fix: Courses Enrollment limitation.
1.4.2
- New: Added export feature for linked child, children’s progress, and my courses.
1.4.1
- New: Made add-on compatible with WooCommerce Subscriptions.
1.4.0
- Fix: Fixed unavailable cookies for user and course data.
- Fix: Fixed Woocommerce course seats purchase flow.
- Fix: Fixed available and remaining seats count on dashboard.
- Fix: Fixed certificate link issue.
- Fix: Fixed parent and child registration.
- Fix: Fixed link and unlink child functionality on different triggers.
- Fix: Reset progress and delete certificate upon unlink or unenroll child.
- New: Added option to select custom redirection page after registration and login.
1.3.3
- Fix: Fixed the issue of db name conflicts.
- Fix: Fixed the issue certificate button not working for parent.
- Fix: Fixed the issue of multiple parents could buy all seats.
- Fix: Fixed the issue of child multiple adding to same parent.
- Change: Changed the pop up message on seats adding to the cart.
1.3.2
- Fix: Fixed the conflict of course page UI.
1.3.1
- Fix: Fixed the issue of parent Links Not working on dashboard.
- Fix: Fixed the issue of email not sent to child and parent accounts.
- New: Redirect the parent to the login page after account creation.
- New: Added template for parent email on settings page.
1.3.0
- New: Added parent student dashboard on TutorLMS dashboard.
- New: Added debug log.
- New: Added link child feature from backend.
- Fix: Course progress in dashboard.
- Fix: Link child.
- Fix: Unlink feature.
- Fix: Course seats issue.
1.2.0
- Added parent dashboard access.
- Added search bar in user list.
- Fixed license issues.
- Fixed CSS issues.
1.1.0
- New: Added parent dashboard access.
- New: Added search bar in user list.
- New: Added multi user enrollment.
- New: Added course seats functionality.
- New: Added capability with TutorLMS free version.
- New: UI implemented.
- Fix: License issues.
- Fix: 500 internal error.
- Fix: PHP warnings.
- Fix: Child added issues.
1.0.1
- Fixed license issues.
1.0.0
- Initial Release.
