


The LearnDash Facial Recognition add-on empowers administrators to safeguard course access and maintain academic integrity. This add-on employs cutting-edge AI technology to authenticate student identity by requiring students to upload their images for facial verification.
The student’s webcam remains active throughout the course, allowing continuous verification against the database. Now, you can be confident that only authorized individuals can access your valuable course content.
Installation
- Install and activate the LearnDash plugin.
- Install and activate the LearnDash Facial Recognition addon.
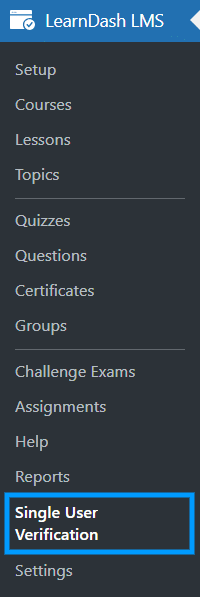
- A new “LearnDash Facial Recognition” menu will be added to the LearnDash menu.
- Install and activate the LearnDash Facial Recognition extension.
Note: Every student must install the required browser extension. If the extension is not detected, a popup notification will prompt the student to install it via a provided link easily. This essential installation ensures a seamless and robust verification process for each user.
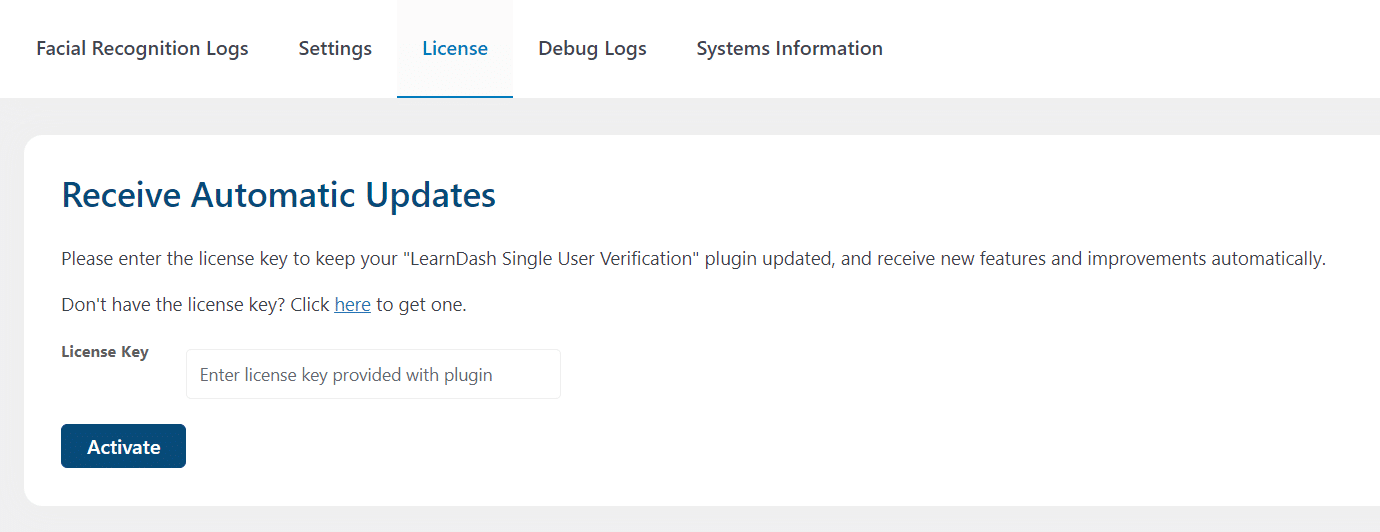
License
To insert your product license key, you must navigate to the License tab located in the LearnDash Facial Recognition add-on. By entering a valid license key for this product, you will get automatic product updates.
Settings

Camera Absence Redirection Page
From this dropdown, you can select the page where you want to redirect the student if their real-time image is mismatched with the images they submitted.
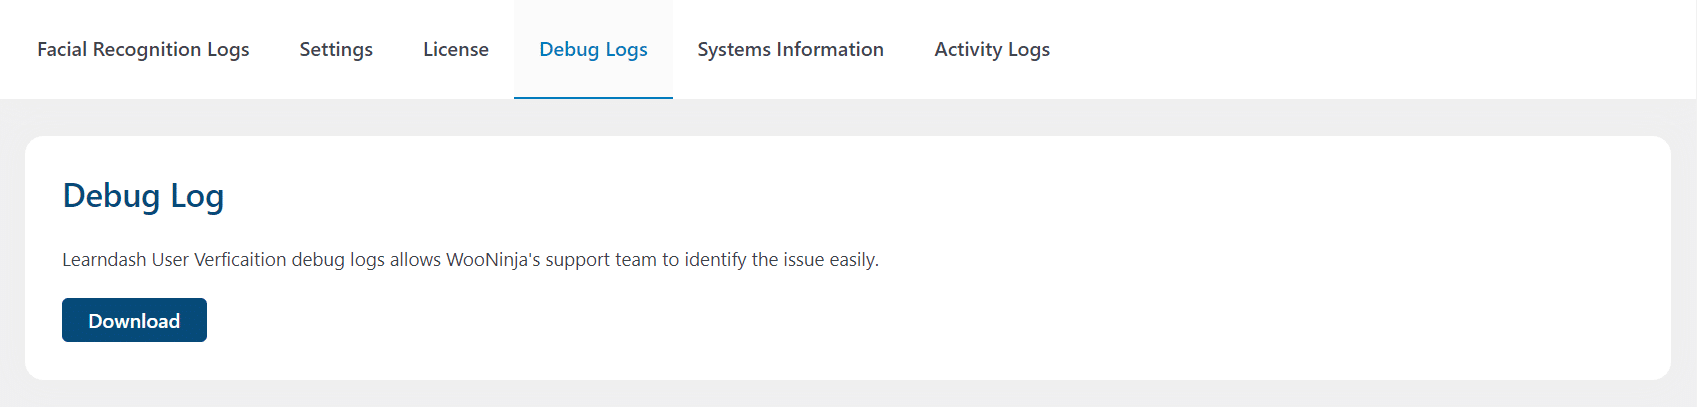
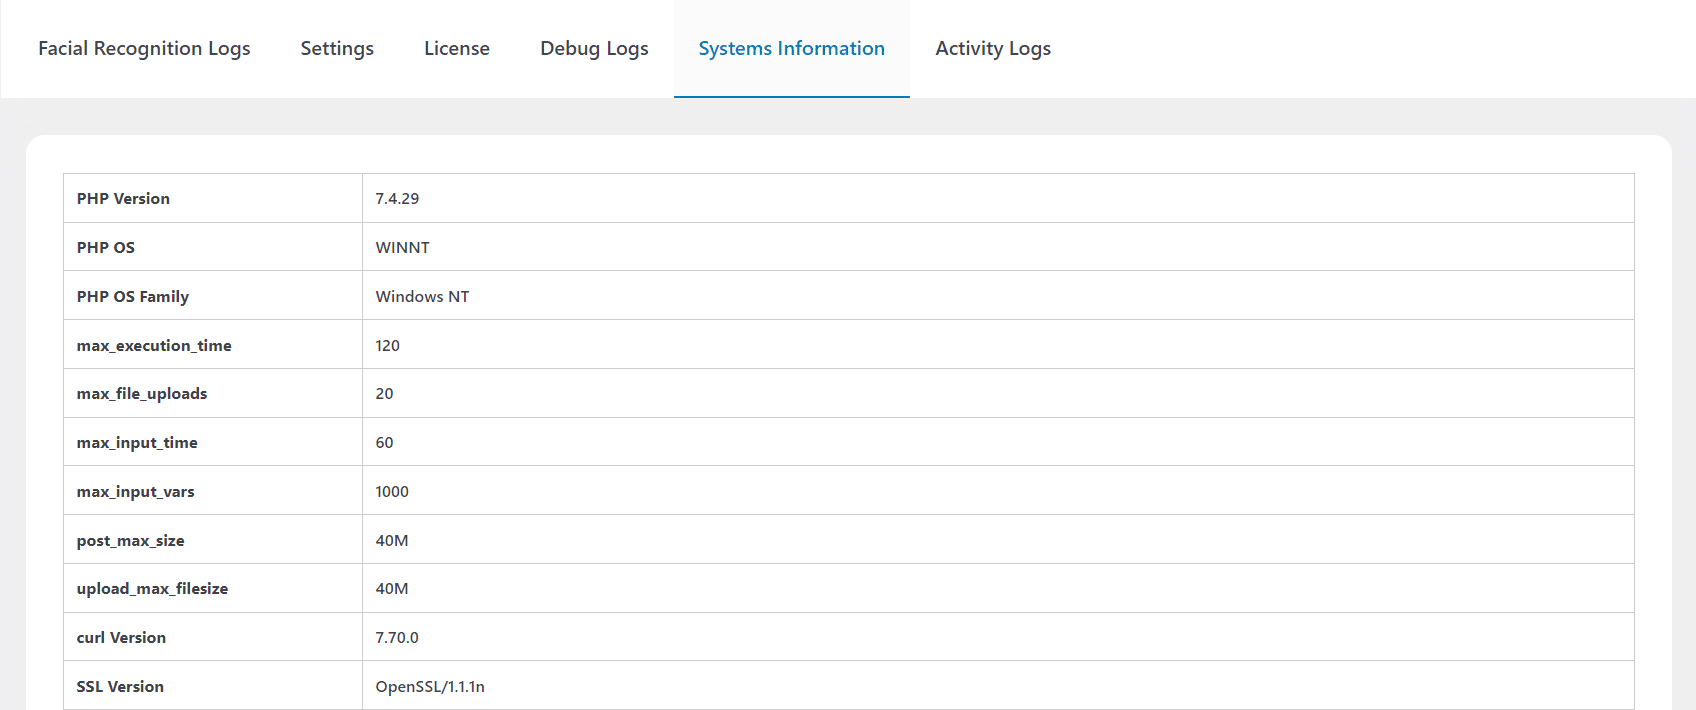
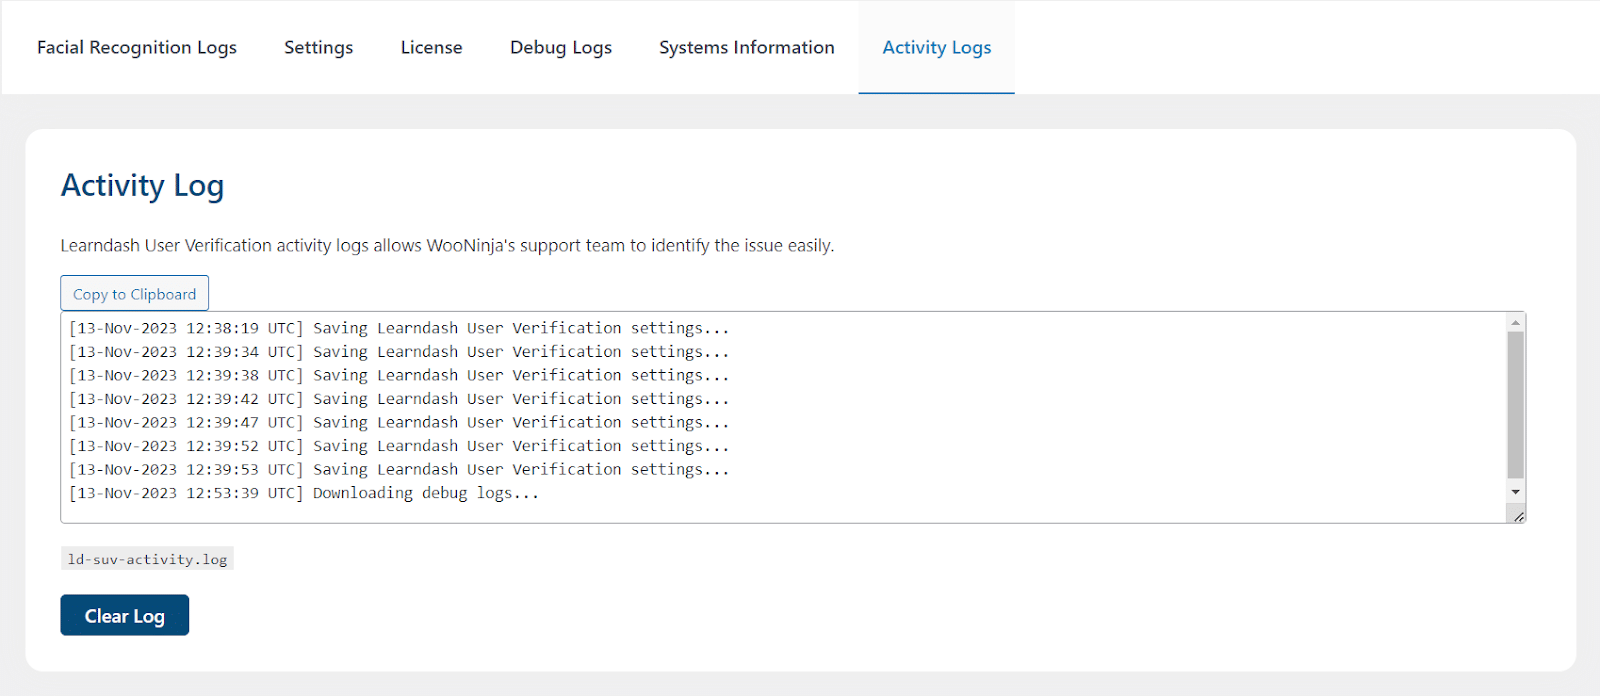
Enable Debug Logs
Once logs are enabled, three new tabs will appear: “Debug Logs”, “Systems Information” and “Activity Log”. The “Debug Logs” tab allows you to download the Debug Logs, which could be useable for WooNinja’s support team to identify any issues. The “System Information” tab showcases your system specifications while the “Activity Logs” tab displays detailed logs that provide a comprehensive overview of the user activity.
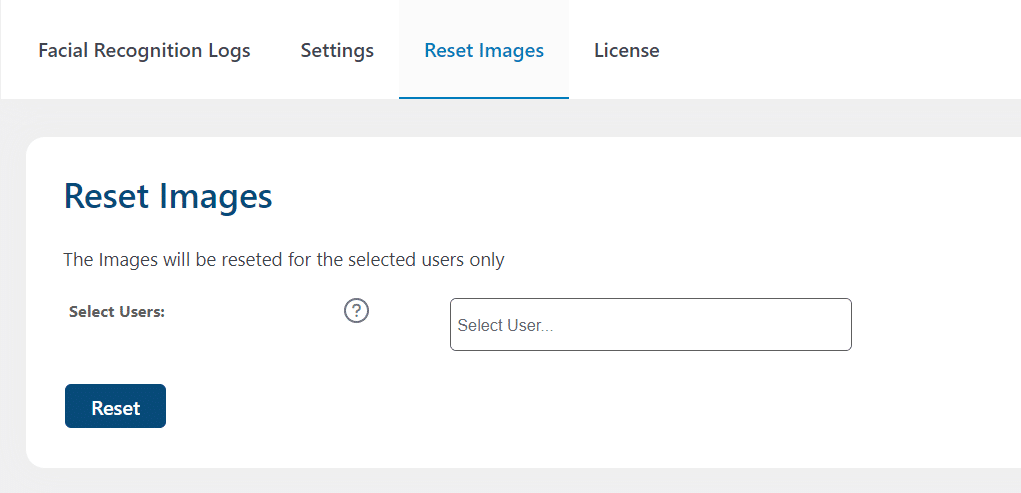
Reset Images
This tab allows administrators to reset the uploaded images for specific users. When an administrator resets the image data for a student, the student will be prompted to upload their images again upon visiting a course where facial recognition is enabled, similar to the initial upload process.
To reset the image data for a particular user, enter their name in the designated field and click the Reset button. This action will reset the user’s image data.
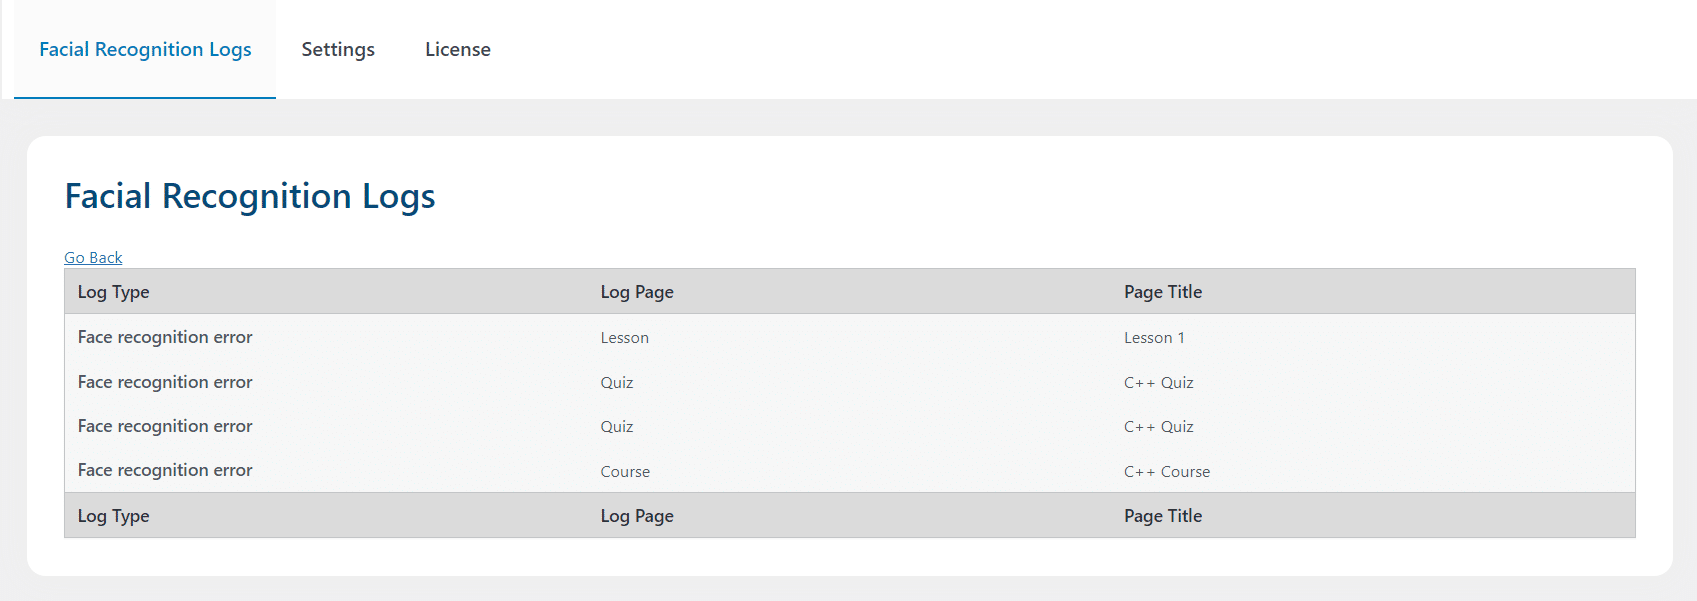
Facial Recognition Logs
This tab provides detailed logs of all facial recognition activities. It includes the log page, page title, and log type, offering valuable insights into user verification activities.
Verification for Specific Courses
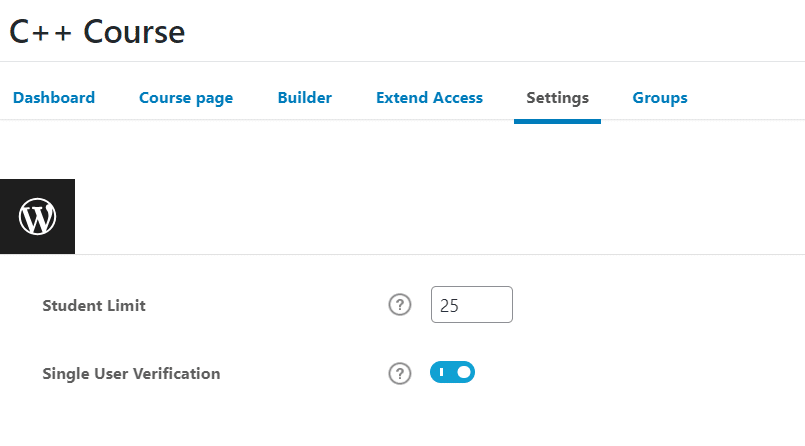
To activate user verification for a particular course, access the course settings, and toggle the LearnDash Facial Recognition option to the ON position. This streamlined process empowers administrators to apply user verification selectively.
User Verification Process Overview
- Enroll in the Course: The student enrolls in a course and accesses the course’s main page.
- Image Upload Request: A popup notification prompts the student to upload three images in JPG format.
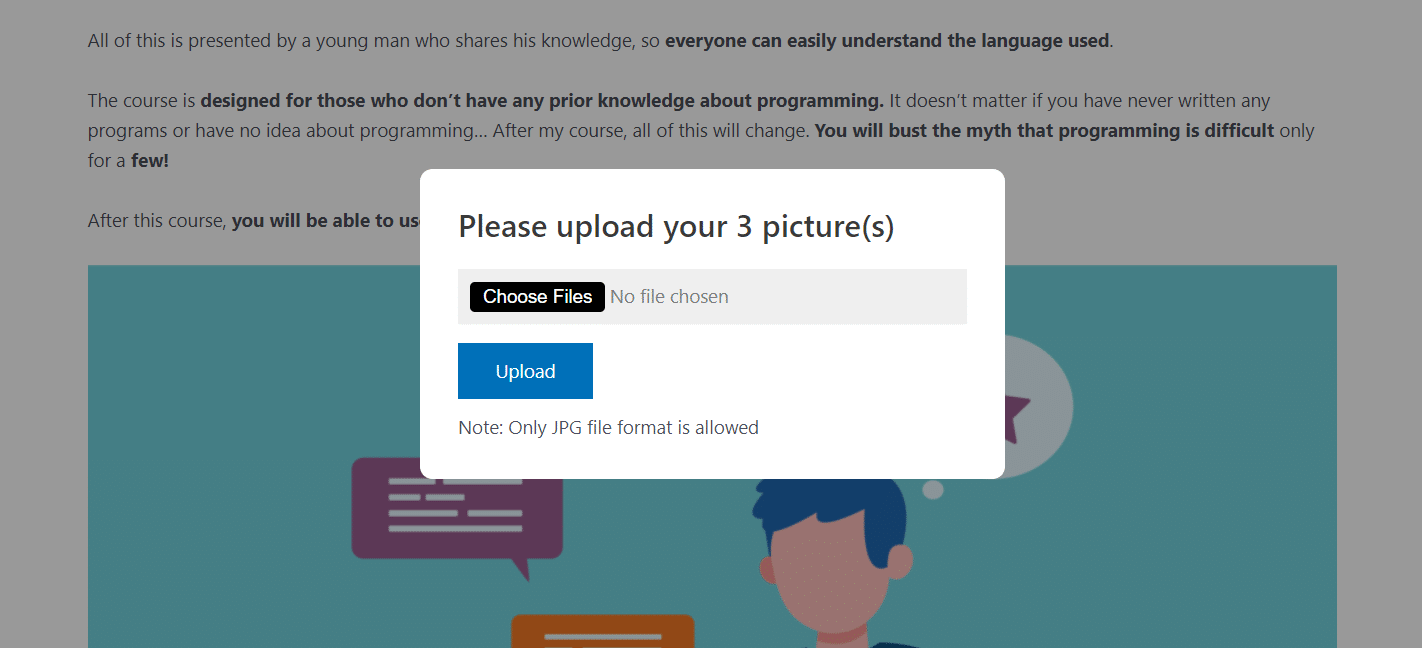
- Image Selection: Students select pictures in JPG format and initiate the upload process.
- Extension Check: Once the images are successfully uploaded, the system checks if the required browser extension is installed.
- Extension Installation: If the extension is not found, a popup guides the student to install it by providing an installation link.

- Camera Permission: If the extension is installed, the browser requests permission to access the camera. The student grants permission by clicking “Allow.”
- Facial Recognition: With permission granted, the student’s real-time camera footage is compared to the uploaded images.
- Verification Result: If the images match the real-time footage, the student gains access to the course, and a green border surrounds their real-time image.

- Non-Matching Images: In the event of a mismatch, a red border appears around the real-time image. After a brief period, the student is redirected to the page configured in the add-on settings.

FAQ’s
Can students upload their images multiple times?
No, students are only permitted to upload their images once.
What occurs if the camera does not detect a face?
When the extension identifies the absence of a face, it redirects the learner to the page designated by the administrator in the add-on settings.
Is it necessary for students to be present in real-time during the course?
Yes, students must be in front of the camera in real-time.
Changelogs
1.0.1
- New: Added option to Reset The images.
1.0.0
- Initial Release.
